Tip #1701 – Using the dynaMACS System Information Setup Screen to Pre-Select Reporting Options

In dynaMACS you can set defaults for some of the reporting options which will save you time by eliminating the need to set them each time you run a report.

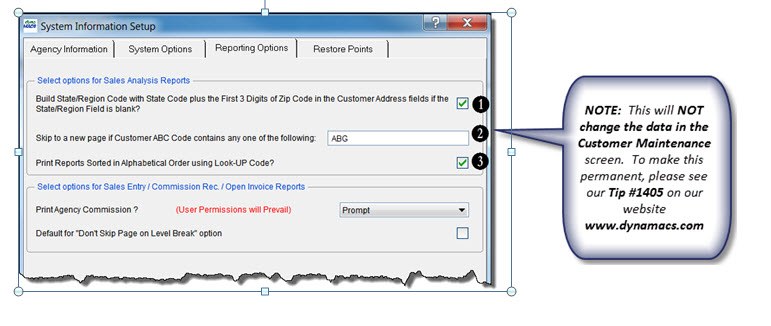
  • You can choose to build State/Region codes on the fly when running a Sales Analysis report if they are missing from the customer record.  This feature will combine the State Code plus the first 3 digits of the zip code from the customer address.
  • When running Sales Analysis reports you can choose to automatically skip to a new page for select codes if the Customer ABC code contains any one of the pre-selected codes.
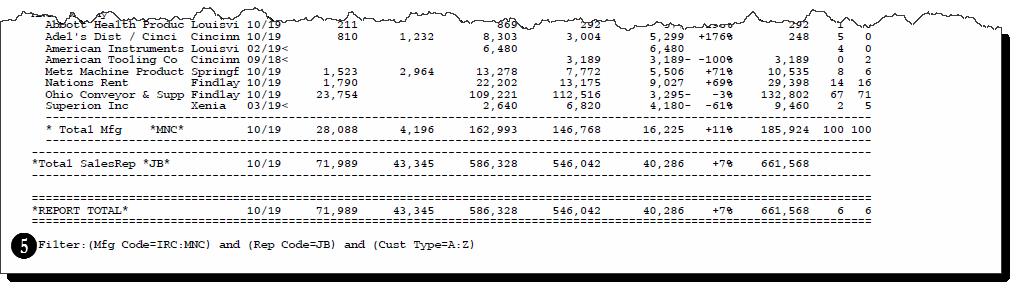
  • Print Sales Analysis reports sorted alphabetically by the Look-Up code rather than Customer code.
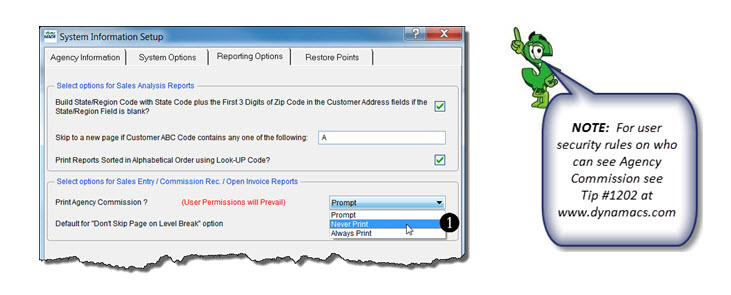
  • Set Agency Commission printing options to Print Always, Never, or Prompt the user.
  • Set default to turn off automatic page skipping on all general reports.

Access Reporting Options

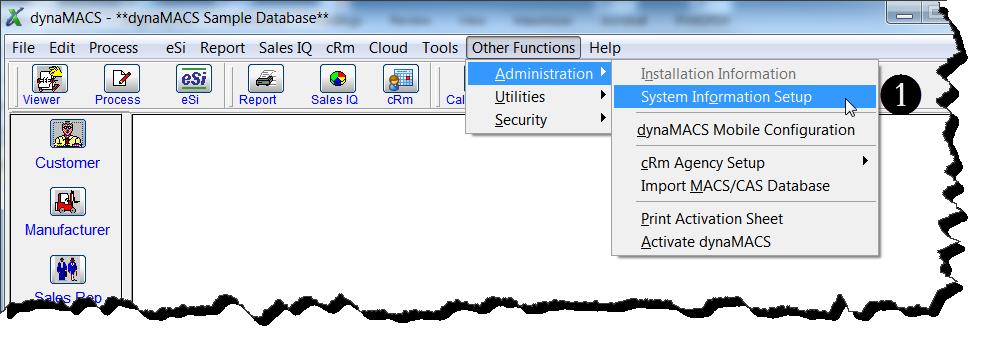
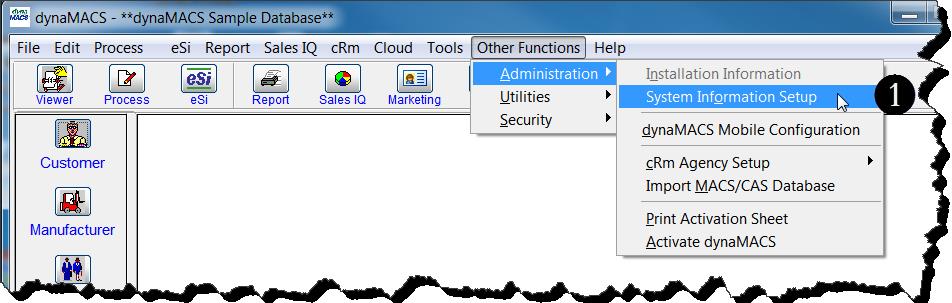
  1. From the dynaMACS main screen select Other Functions> Administration>System Information Setup. 
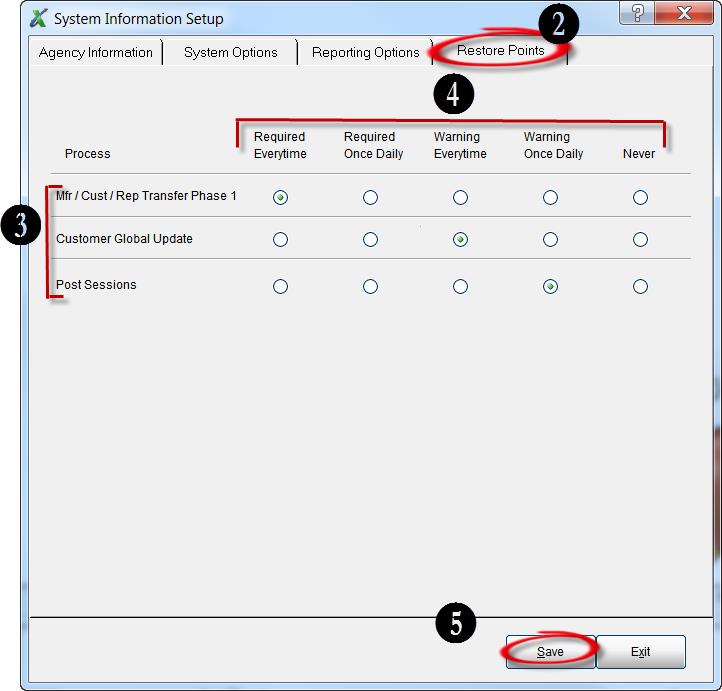
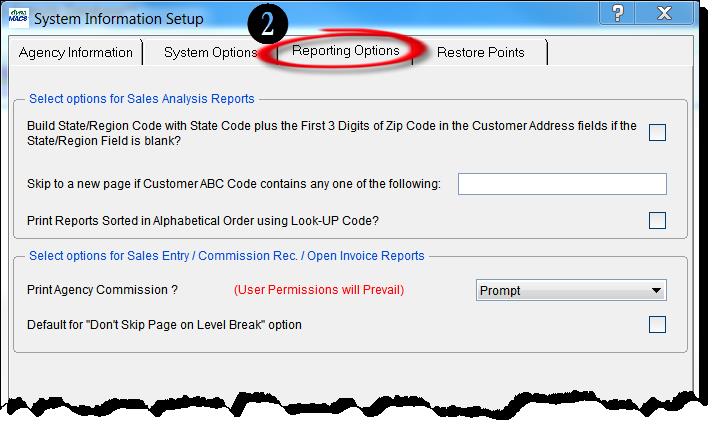
  2. Select the Reporting Options tab from the System Information Setup screen.

Select Options for Sales Analysis Reports

  1. To build the State/Region code “on the fly” in Sales Analysis reports, select the checkbox.
  2. To set Page Skipping for customers with the pre-selected ABC codes, enter the ABC code here.
  3. To print Sales Analysis reports sorted in alphabetical order using the Look-Up code rather than the Customer code, select the checkbox.

Select Options for Sales Entry/Commission Reconciliation/Open Invoice reports

  1. Select your preference for Printing Agency Commission from the drop down box.
    • Prompt will prompt the user to print Agency Commission for users that can see commissions.
    • Never Print will set the default so Agency Commission will never print for all users.
    • Always Print will set the default so Agency Commission will always print for users that can see Agency Commissions.
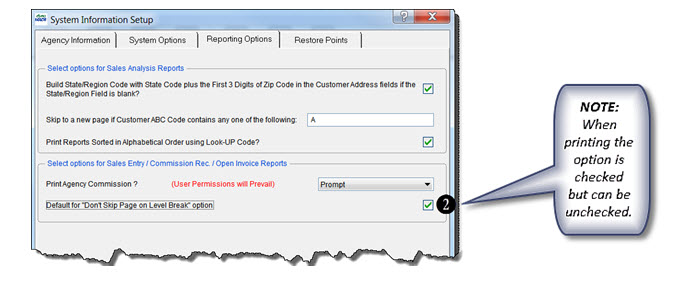
  2. To disable automatic page skipping, check the box next to “Default for Don’t Skip Page on Level Break”.
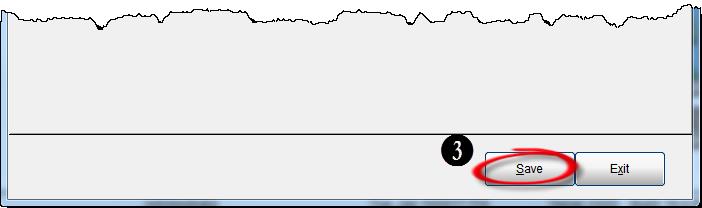
  3. After all of your Reporting Options have been selected, click on the Save button.

Tip #1612 – Using the dynaMACS System Information Setup Screen to Set the Frequency and Warning Messages for Restore Points

Restore points in dynaMACS are important when performing some functions such as posting sessions or doing transfers. (Please see Tip #1308 on the importance of creating a restore point.)  In dynaMACS you can control when your Restore Points are required or set a warning when the Restore Point SHOULD be done.  The following tip will walk you through setting this up.

Setting the Restore Point Frequency/Warning Message

  1. From the main dynaMACS screen select Other Functions>Administration>System Information Setup.
  2. Select the Restore Points tab at the top of the System Information Setup screen.
  3. There are three processes for which you can setup warnings or required defaults.
  4. Select the appropriate radio button.
    • Required Everytime will force the user to create a restore point each time this process is run.
    • Required Once Daily will force the user to create a restore point the first time this process is run each day.
    • Warning Everytime will display a warning to create a restore point each time this process is run.
    • Warning Once Daily will display a warning to create a restore point the first time this process is run each day.
    • Never will not show a warning or force a restore point when this process is run.

5.   Once your selections have been made click on the Save button.

Tip #1611 – Using Sales IQ and Google Maps to Help Plan for a Sales Manager Visit

dynaMACS Sales IQ has a unique feature that can map the customers you want to visit with Google Maps.  The example below will show you how to filter the criteria and customize which customers you visit.

Example

First we will focus on the geographic area in the state of Illinois where the sales manager from Lee Jacob wants to visit.

  1.  From the Sales IQ screen, select the Filter button.sales-iq-screen-filter
  2. In the Customer State/Region field enter “IL” and “IL” (from and through) and select “Include This Range”.
  3. Select the Apply button to create a filtered database.filter-screen
  4. You will be back at the Sales IQ screen.  Select the Manufacturers tab.
  5. Highlight and right click on the manufacturer. In this example it is Lee Jacob Mfg.
  6. Select Show Customers from the drop down menu.sales-iq-screen-show-customers
  7. A new Sales IQ Drill Down window will open displaying all of the customers that buy from this manufacturer Lee Jacob in Illinois in descending sequence of year to date sales.
  8. Highlight the customers that you wish to map.
  9. Right click and select Launch Maps from the drop down menu.sales-iq-screen-launch-maps
  10. The selected customer locations will now appear in Google Maps.  Within Google Maps you are able to select which locations to visit and you can also re-sequence the route if desire.google-maps-screen

Tip #1610 – Understanding the Symbols and Codes on a dynaMACS Sales Analysis Report

When reviewing your dynaMACS Sales Analysis reports there are two symbols to look for that will easily identify customers with first time sales as well as customers with no sales in 3+ months.  There are also codes that are displayed to help you identify Column Settings and Sub Totals that where selected for this report as well as filters that may have been used.

  1.  The Column Set displays the Column Set that was chosen when creating the report.  In the following example G1 was selected.
  2.  The Subtotals displays the Subtotals Code that was selected when creating this reportIn the following example S1 was selected.
  3. Customers that have a Less-Than (<) sign to the right of the Last Activity date are those that have no sales in 3 months or longer.
  4. Customers that have an Asterisk (*) to the right of the Last Activity date are first time buyers.report-screen-1
  5. The Filter field at the bottom left hand corner of the report will display all of the filter    selections chosen when creating this report.  In this example we have selected Mfg Code IRC thru MNC, Rep Code is JB and Cust Type A thru Z.report-screen-2

Tip #1609 – A customer may be known by different names by different manufacturers. This can create unwanted customer duplication during the sales entry process.

In business it is common that companies merge, create DBA’s or an alias.  dynaMACS has a unique feature that allows you to refer to the correct customer.  The instructions below will walk you through how to accomplish this.

Add the New Customer

Add the new customer (DBA or Alias) which will be related in dynaMACS. In this example we added customer Babson Tooling (customer code BABT00).note

  1.  Edit the original customer in dynaMACS to reflect the new customer as a reference   customer in the Related To field.  In this example the customer B & B Tooling (BBTO00) is the original customer. Babson Tooling (customer code BABT00) is the Related To customer.
  2. Change the Status for B & B Tooling to Reference Only.
  3. Select the Save/Exit button.sales-entry-screen-1

Making Sales Entries Using Related to Customers

  1. In Sales Entry, enter the old customer code for B & B Tooling (BBTO00).
  2. You will get a message as seen below displaying the Reference Customer code.  Select the OK button.sales-entry-screen-2
  3. After selecting the OK button you will see that the Customer Code changes to the newly created Reference Customer code for Babson Tooling (BABT00).

sales-entry-screen-3

Tip #1608 – Save Time by Using the Manufacturer Customer Code During Manual Entry

When entering Sales and Commissions directly from a manufacturer’s spreadsheet or invoice, it may be quicker to enter in Sales Entry using the Manufacturer Customer Code.  The following tip explains how to customize a sales entry session to accomplish this.

  1.  From the Sales Entry screen select the Customize button.Sales Entry Screen 1
  2. Select the Manufacturer radio button and enter the Manufacturer Code.  In this example we will use the manufacturer code APC for Apcal Alloy Company.  You can click on the Binoculars button to search for the Manufacturer Code if you don’t have it.
  3. Select By Mfr Cust Code from the drop down in the Customer field.
  4. Click on the Save button and then select the Exit button.Sales Entry Options Screen
  5. You will be returned to the Sales Entry screen.
  6. Select the Add button to begin adding your sales and commission information.Sales Entry Screen 2
  7. Below is a sample of a manufacturer spreadsheet from the manufacturer Apcal Alloy      Company which shows the manufacturer customer codes along with the sales and       commission information.Manufacturer Spreadsheet
  8. Enter the Manufacturer code in the Sales Entry screen and select <Enter>.  (In this example it’s APC for Apcal Alloy Company)
  9. You will notice that the cursor then jumps directly to the Mfg Cust Code 1 field where you     can enter the manufacturer customer code from the spreadsheet or invoice.  You can also click on the Binoculars button to search for the Manufacturer Customer Code if you don’t have it.  From here you can continue on with your sales entry as normal.Sales Entry Screen 3