Posts

Empowering Systems Account Reporter Analytics – POS Reports

Our advanced sales and commission tracking software enable you to see all the dashboards in AccountReporter Analytics. This analytics is like dynaMACS SalesIQ on steroids. You will be able to see end customer data and part number information if you need that.

With business needs changing all the time. You need to quickly analyze your business and get back to selling. Check out the video below that shows you quickly and easily Point-of-Sale information.

POS Video

Tip #1711 – Import your Sales Goals Quickly with the dynaMACS Optional Module – eSi

Save hours of manual entry by exporting your sales data out of Sales IQ, manipulate the annual number and simply import your sales goals for the next year back into dynaMACS.

Export your sales numbers out of Sales IQ

  1. From the Sales IQ screen enter in a sales rep that you would like to create goals for.
  2. Select the GlobalView Tab.
  3. Select ALL from the Selector drop-down list.
  4. Wait for dynaMACS to process your request.
  5. Select the Export button.
  6. Name the file and place it in a directory that you will remember where it is located.
  7. Exit out of Sales IQ.
  8. Find the file that you just saved. Double click on it and the file will open in Excel.
  9. Insert a column next to the Sales Jan-Dec 17 column (F) and name it Goals.
  10. Create the formula with the percent that you would like to change. (Example shows 15%).
  11. Copy the formula down the spreadsheet and save it as a csv file.
  12. Go into the eSi reformat screen for dynaMACS.
  13. Map the Goals.
  14. Process through the rest of the eSi steps.
  15. NOTE: Make sure that you are posting the session to January of the year that you want the goals to go into. (Example:  01/2018)

Tip #1709 – Using dynaMACS’ Sales IQ Graph to Show the difference in “House” Commission percentages for this year versus last year

In our previous tip #1708 we talked about using dynaMACS’ Sales IQ to analyze “House” commission. The following will show you how to create a graph from that information.

Using the Graphing Feature in dynaMACS

  1.  From the Sales IQ screen select the Filter button.
  2.  Select Active from the Manufacturer Status drop down list.
  3.  Select the Apply button.
  4. From the Sales IQ screen with your selections displayed, click on the down arrow to the right of the Graph button and select Graph.
  5. Check the boxes for Jan-Aug 19 and Jan-Aug 18 in the Select Columns to Graph screen.
  6. Once you have made your selections click on the Graph button in the lower left hand corner of the screen.
  7. The graph will default to a bar chart.  Select the Customize button to change the type of graph that will appear.
  8. Select the Line chart (or Pie etc.) to customize the look of your graph.
  9. When you have completed your selections select the OK button.

From the Sales IQ Graph screen you can:

  1.  Print the graph.
  2. Customize the look of the graph.
  3. Copy to Clipboard.

Tip #1708 – Using dynaMACS’ SalesIQ to Analyze “House” Commissions

dynaMACS’ Sales IQ provides a unique method for analyzing your agency sales and commission numbers.  House commissions are the agency commissions remaining after paying all the sales reps their split of the commissions.

Use the “Data” Control to Display Your “House” Commissions.

In the following example we show data for Agency Commission + Agency Splits listed by manufacturer as of October 2019.  This allows you to examine the total agency commissions and the remaining “House” commissions.

  1.  From the dynaMACS main screen, select the Sales IQ button.
  2.  Select AgyComm + AgySplit from the Data drop down list in the Parameters section of the screen.
  3. We have selected October 2019 from the As-of drop down list in the Parameters section of the screen.
  4. Select the Manufacturers tab.
  5. This column represents the total agency commission amount for Jan-Oct 2019.
  6. This column represents the total agency “House” commission amount for Jan-Oct 2019 after paying the sales reps.

Tip #1707 – We are Please to Announce the Launch of Our Newly Designed dynaMACS Website!

Our new website is designed with a new look and provides for ease of use.  We believe you will find it to be more responsive, informative and interactive.  Please visit our new website at www.dynamacs.com on your computer or mobile device. (The website address has not changed.)

Navigating the New dynaMACS Website

We have made navigating through our website easier providing information right at your fingertips.  To get to a subject on our website simply scroll over the subjects at the top of the dynaMACS home page where you can select an item from the drop down list.  Below is an example of the display of the STANDARD SYSTEM list.  Selecting one of these items will take you directly to that page for more information.  You can do the same for OPTIONAL MODULES, RESOURCES, BLOG, ABOUT US and SUPPORT.

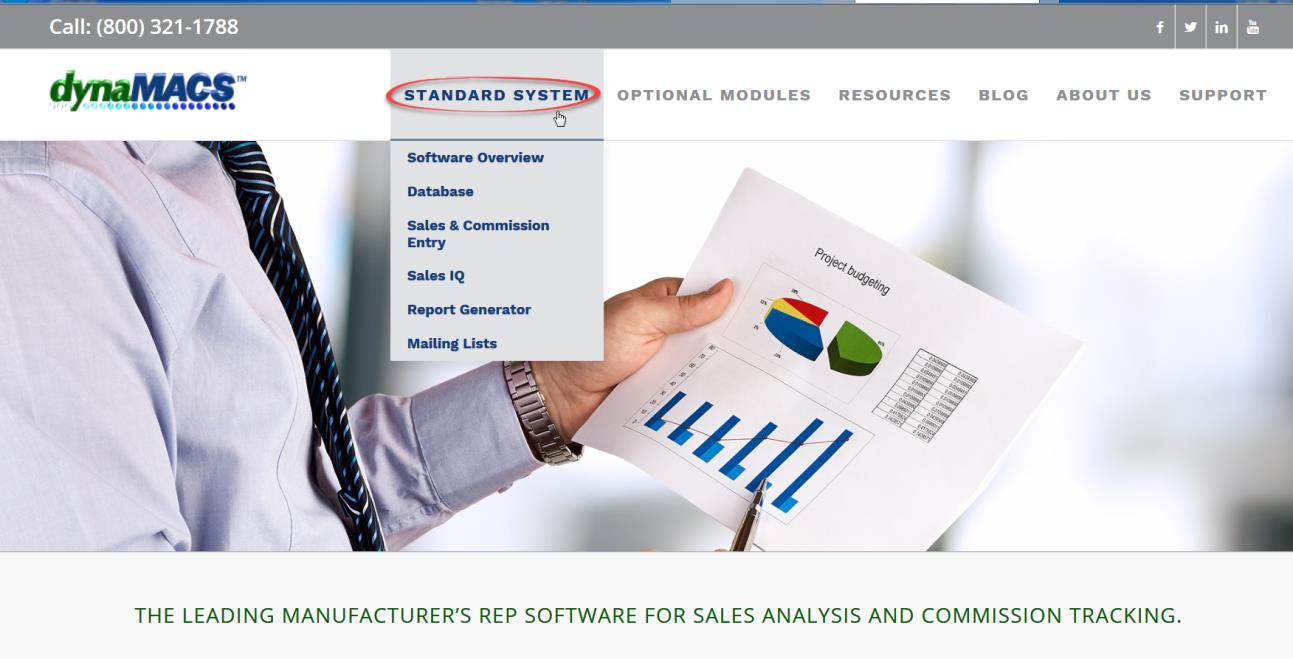
  • Standard System:  Shows detailed information about the modules that are included when purchasing the Standard dynaMACS system.
  • Optional Modules:  Explains additional modules that are available for purchase along with the dynaMACS Standard system.
  • Resources:  Will take you to our on-line Case Studies and Quick Quotes from our clients, Schedule a Demo, FAQ’s and upcoming Events that we will be attending.
  • Blog:  The blog will give you access to the Case Studies, our Monthly Tips, and Demos which help our users discover the best way to utilize the dynaMACS features.
  • About Us:  Selecting this will take you the History of our company, our Mission Statement, the Information Kit request form and to Schedule a Demo.
  • Support:  While on a dynaMACS support call you may be asked to connect online with the dynaMACS Customer Support Rep.  From the dynaMACS home page simply scroll over SUPPORT at the top and then select Quick Connect (.exe) from the drop down list and follow the prompts. You can also access information on Getting Started, Online Help, System Requirements, how to contact our Support Team via email and the dynaCARE Members area where you can download the software and updates.

Note:  When you select the executable file (.exe) for download, you will need your dynaMACS serial number (Dxxx) and your most recent authorization code.  This information can be found in dynaMACS under Help>About dynaMACS.

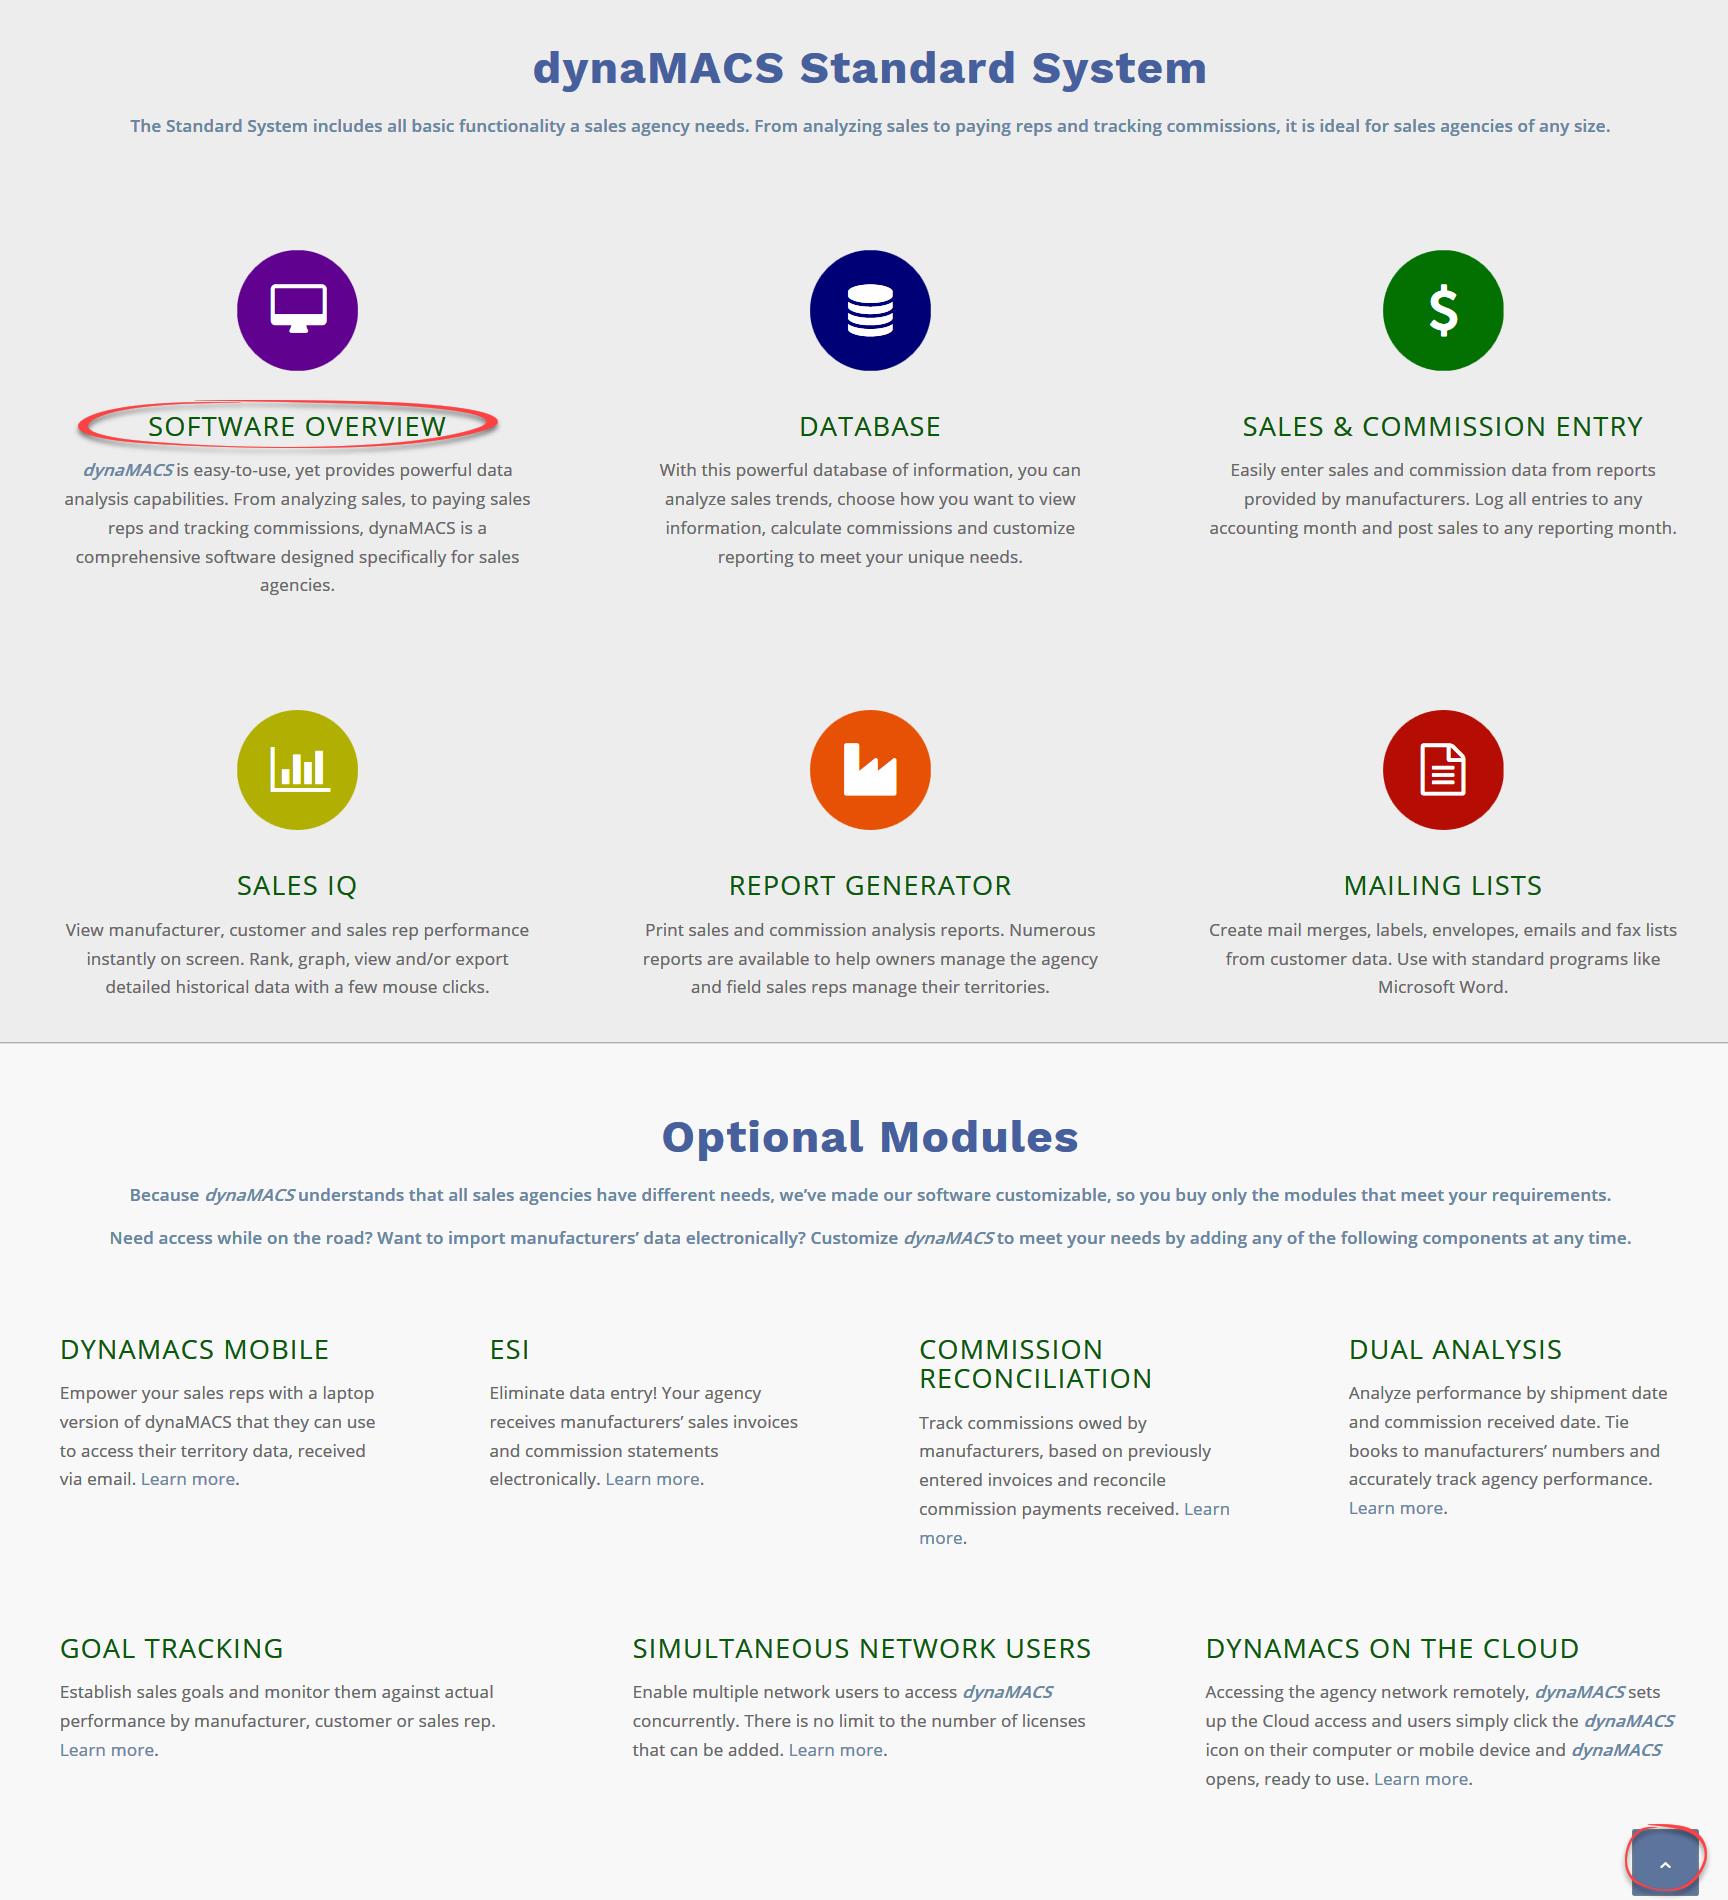
You can also access these features by scrolling down on the home page and clicking on dynaMACS Standard System or Optional Modules subject title (i.e. SOFTWARE OVERVIEW) which will take you directly to that page for more information.

Clicking on the Up Arrow  in the lower right hand corner of the screen will take you back to the top of the dynaMACS home page.

If you scroll down a little further on the dynaMACS home page you will find a link where you can schedule a personalized demo of dynaMACS software by selecting the link Sign up for your free, personalized demo now.

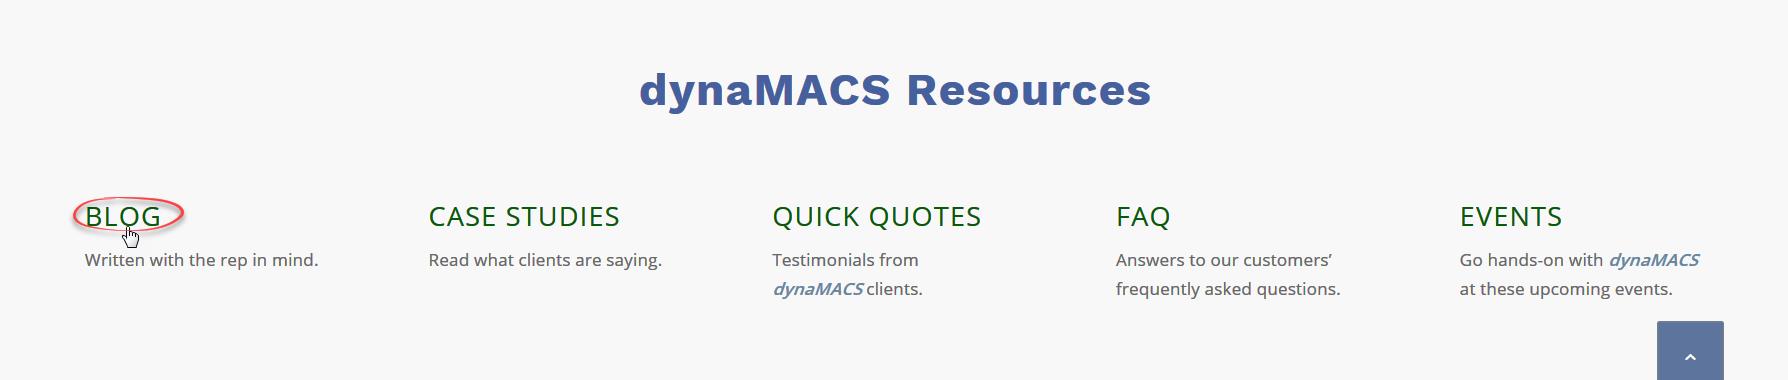
At the bottom of the dynaMACS home page you will find dynaMACS Resources.  You can click on a subject title (i.e. BLOG) which will take you directly to that page.

From any page on the website you can click on the dynaMACS logo in the upper left hand corner to get back to the dynaMACS home page.

Tip #1706 – Are you constantly changing the “display by” search in the customer viewer?

The Display By field in the dynaMACS Viewer screens defaults to “Lookup” which lets you enter the first few characters of the Name i.e. manufacturer, customer or sales rep name in the Start field which will display a list based on that entry.

You can change this default temporarily by selecting the down arrow in the Display By field while in the Viewer screen.  This will change the Display By for the current viewing session.

You can also change the default so that every time you access the Viewer screens it will default to your personal selection.

To Change the Default Display By Field for the Viewer Screens

  1.  From the main dynaMACS screen select File>Preferences.

  2. From the User Preference(s) screen, scroll down to #19 Viewer Look-Up.
  3. Select the drop down arrow to the far right of Viewer Look-Up.
  4.  Select the field which you would like your default Viewer Look-Up to be ( i.e. City).
  5. Select the Save button.
  6. Select the Exit button.

Now when you access any of the viewer screens the Display By field will default to that selection.