Tip #1602 – Did You Know That You Can “Catalog” (Save) Your Commonly Used Reports
The Sales Analysis report feature in dynaMACS provides the ability to save a sales analysis report by “cataloging” it. This eliminates the need to re-enter the report criteria each time you need to run the report by selecting it from the Catalog drop down menu in the Sales Analysis Reports screen. The following are examples of creating, retrieving and deleting catalogs.
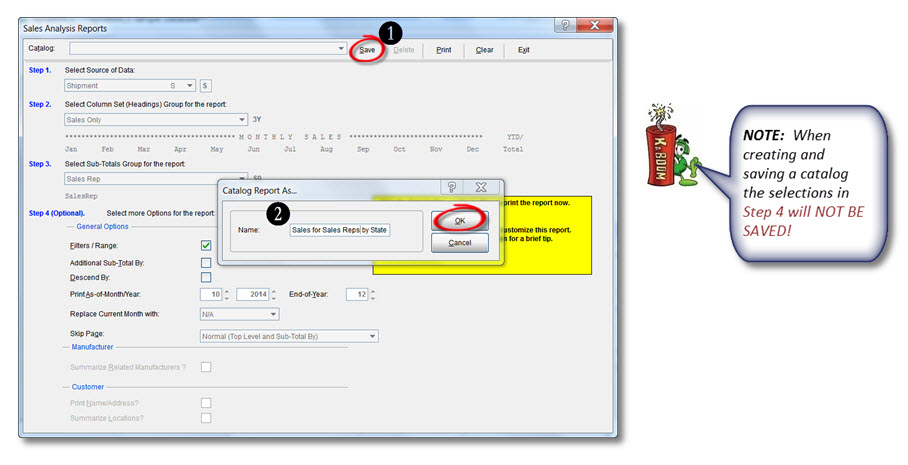
Creating a Catalog:
- After selecting your report criteria in the Sales Analysis Reports screen, select the Save button at the top of the screen.
- In the Catalog Report As box, enter a name for your report in the Name field and select the OK button.
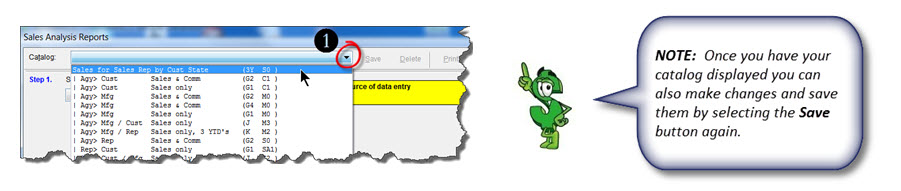
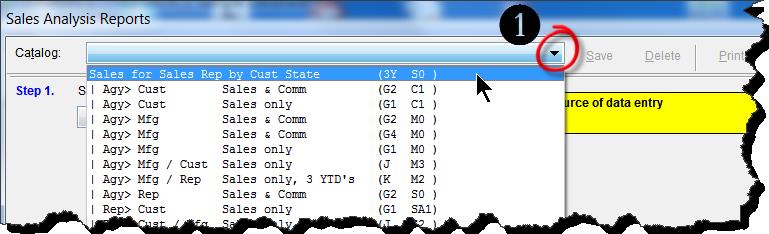
Retrieving a Catalog:
- To access your saved catalogs from the Sales Analysis Reports screen, select the Down Arrow next to the Catalog field and then select the catalog for the report you want to print.
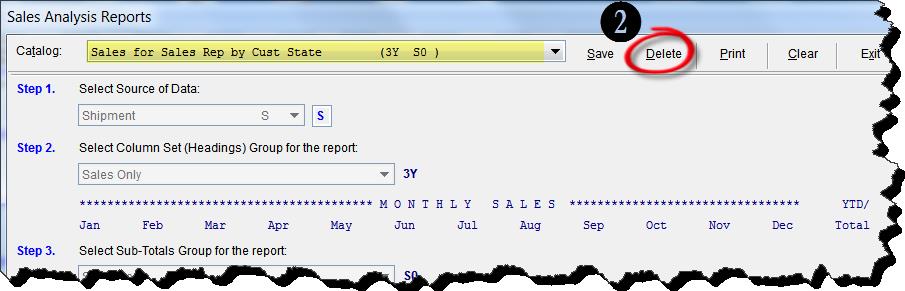
Deleting a Catalog:
- From the Sales Analysis Reports screen, select the Down Arrow next to the Catalog field and then select the catalog that you wish to delete.
- Once the catalog is displayed; select the Delete button at the top of the Sales Analysis Reports screen to delete the catalog.