Tip #1306 – Using dynaMACS Mailing List Export
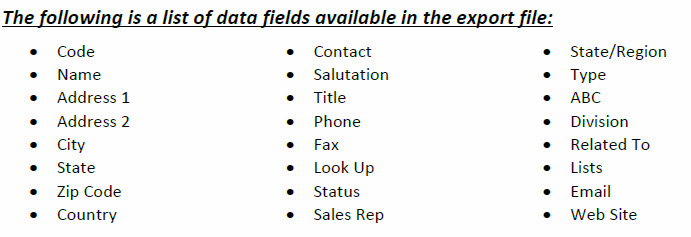
The dynaMACS Mailing List Export is a simple feature that allows you to create a customer list that can be exported for use in another program. This feature lets you target specific customers by filtering on data fields from the customer records in dynaMACS. You can also include or exclude customers that purchase from certain manufacturers.
The following example explains how to select the mailing list options in dynaMACS and export the file. In this example we will create a list of all customers in sales rep Jim Blacks territory.
Creating a List from the Mailing List Export Screen
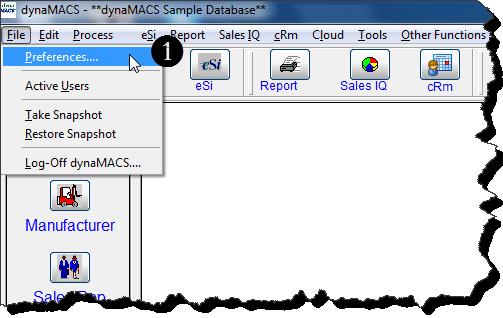
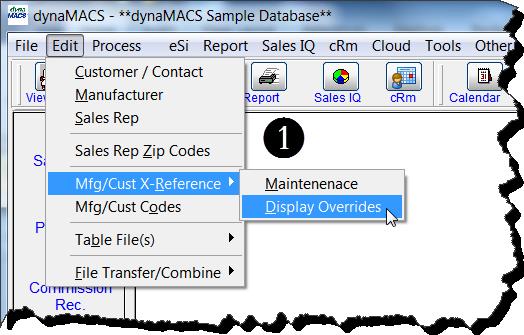
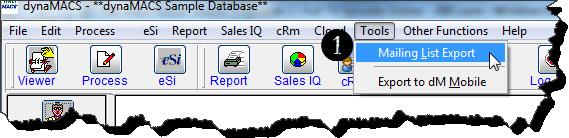
- From the dynaMACS main screen select Tools>Mailing List Export
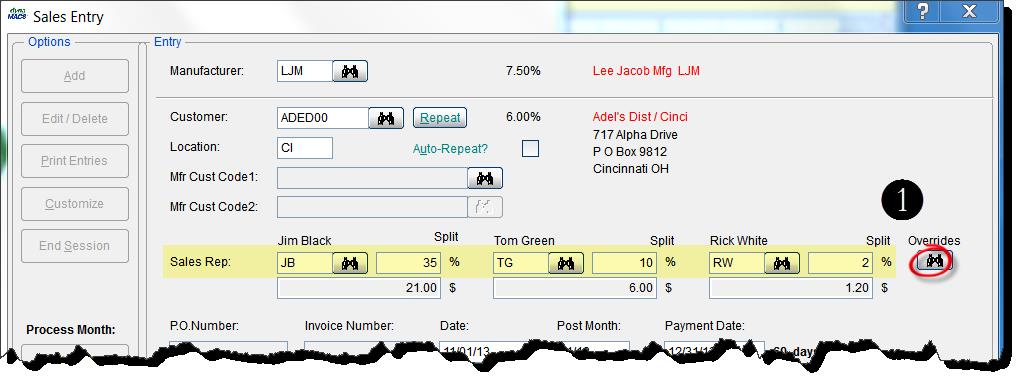
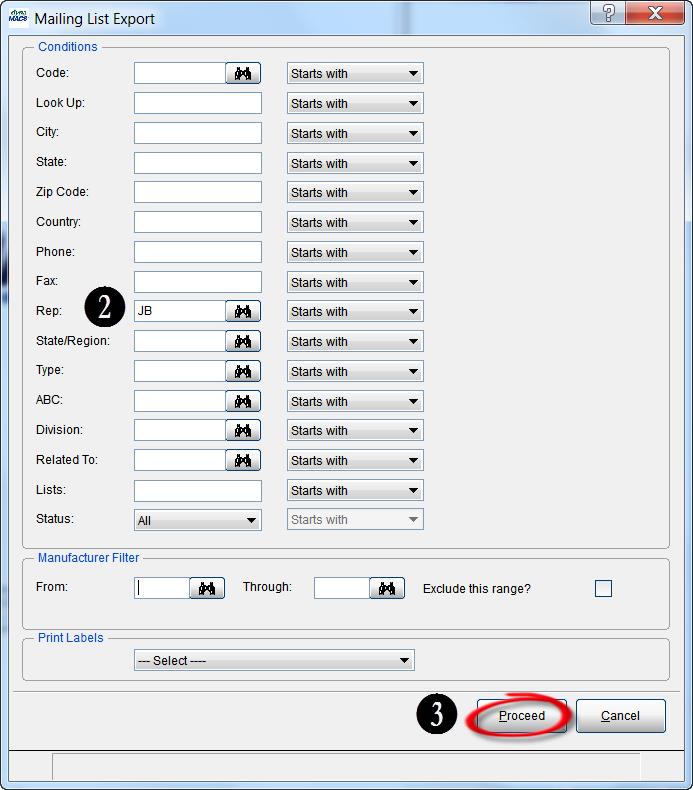
- In the Mailing List Export screen enter JB in the Rep field.
- Select the Proceed button.
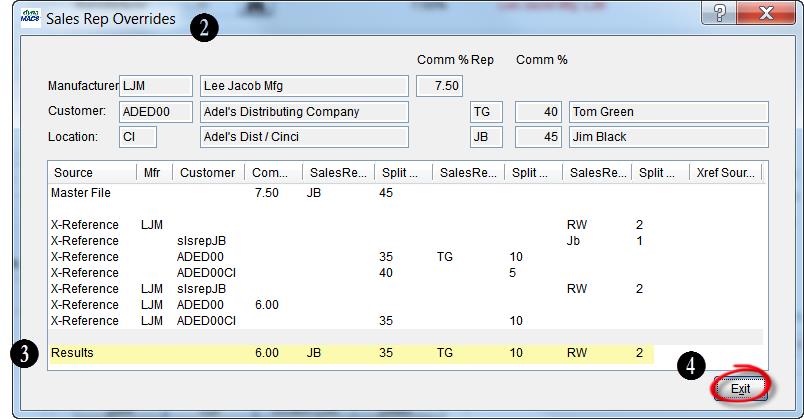
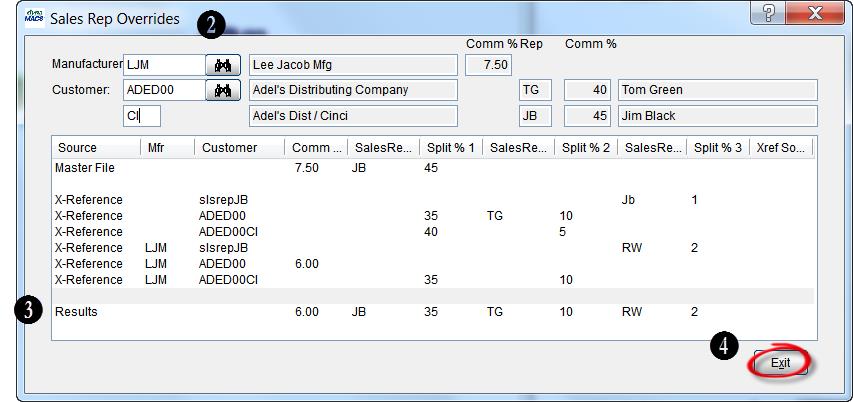
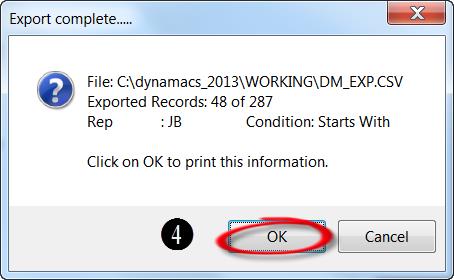
- The following dialog box will appear providing you with the export file location and the details of the records in the file.
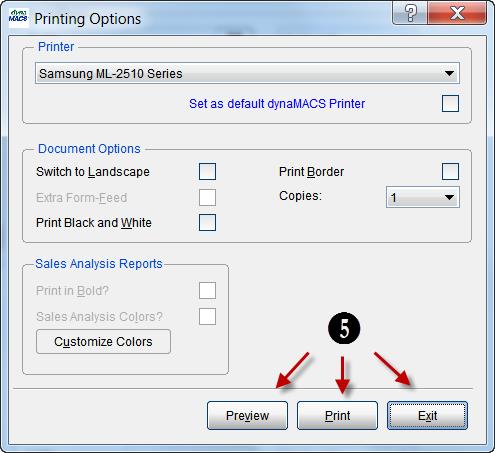
- Next a Printing Options dialog box will appear. This is a confirmation of the file location and details which was displayed in the previous dialog box. You can select the Preview button to preview the details, the Print button to print the details or the Exit button to close the dialog box.
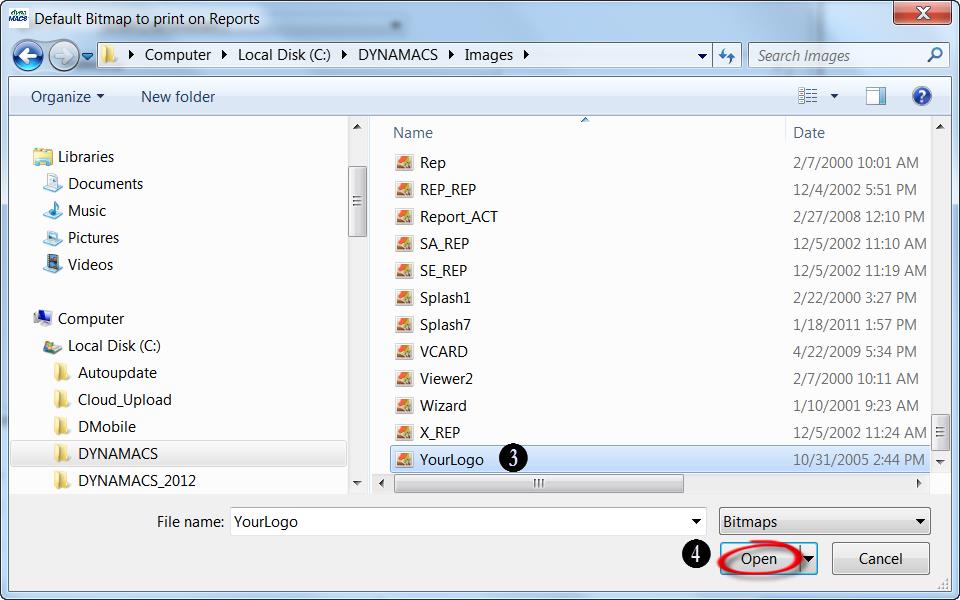
- To retrieve your file go to the file location which will be in the DYNAMACS/WORKING directory called DM_EXP.