Tip #1309 – Did you know that by using the dynaMACS Global Update Feature you can update multiple customer records with the click of a mouse?
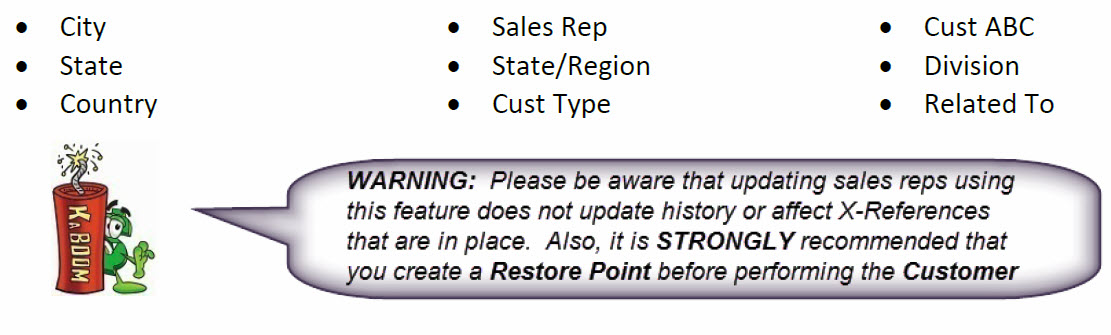
The Customer Global Update feature in dynaMACS allows you to perform a simple global customer update by filtering on specific fields and replacing fields with a new value. You can update the following customer fields using this feature:
Example #1
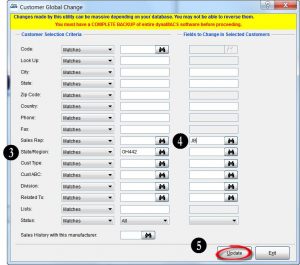
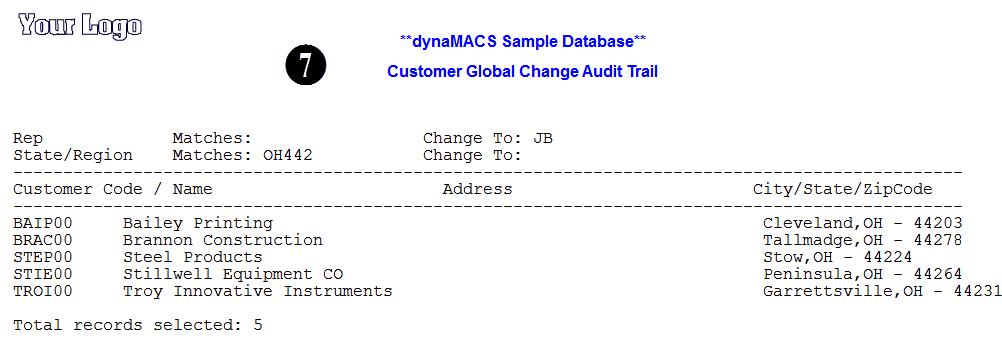
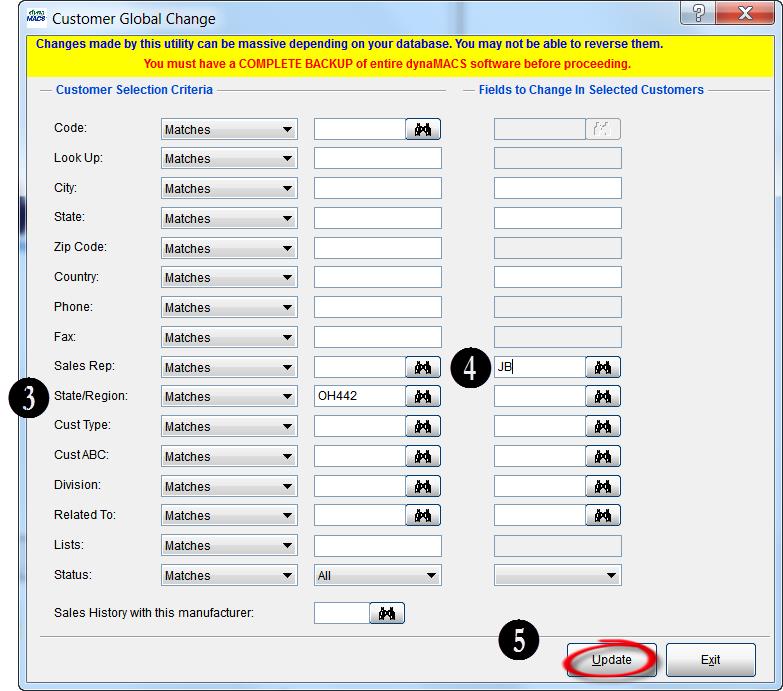
In this example we will update the current sales rep for all customers in the State/Reg code of OH442 to a new sales rep JB (Jim Black).
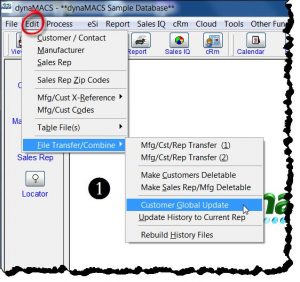
- To access the Customer Global Update feature select Edit>File Transfer/Combine>Customer Global Update.
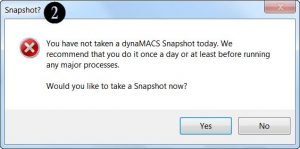
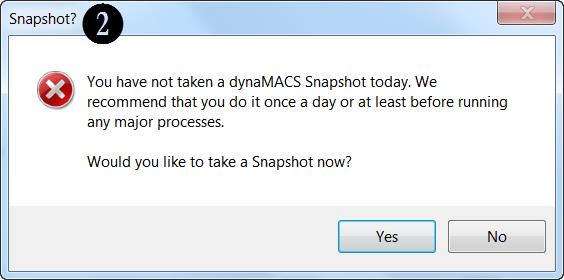
- A Restore Point warning screen will appear. If you haven’t already done so, it is STRONGLY recommended that you create a restore point before continuing. Select the Yes button to create a restore point or select the No button to continue on with the changes.
- Enter OH442 in the State/Region field under the Customer Selection Criteria on the left hand side of the screen. This will find all of the customers with this state/region assigned to them.
- Enter the new rep code JB in the Sales Rep field under Fields to Change in Selected Customers to the right hand side of the screen.
- Select the Update button.
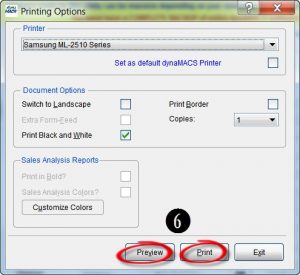
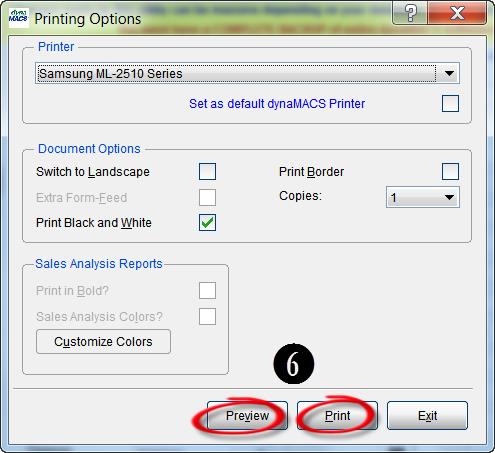
- Select the Preview button to preview the Customer Global Change Audit report or you can select the Printbutton for a hard copy of the report.
- Verify the changes that will be taking place by reviewing the Customer Global Change Audit Trail.
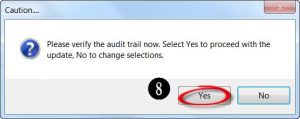
- After reviewing the Customer Global Change Audit Trail, select the Yes button to continue and complete the changes.


Example #2
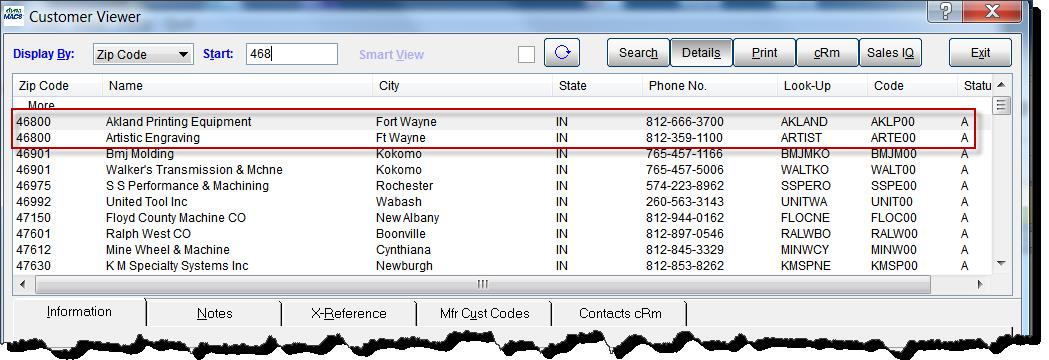
Another example of the use of the Customer Global Update feature would be to make a city name in your customer database consistent by selecting a zip code and then changing the city name. For example, in the display below we have two customers in zip code 46800 which is Fort Wayne, IN. As you can see, one customer record has the city spelled Fort Wayne while the other is spelled Ft Wayne. The following explains how to globally change the city name for that zip code to Fort Wayne making the city name consistent for all customers in that zip code.
- From the Customer Global Change screen enter 46800 in the zip code field under Customer Selection Criteria.
- Enter Fort Wayne in the City field under Fields to Change in Selected Customers.
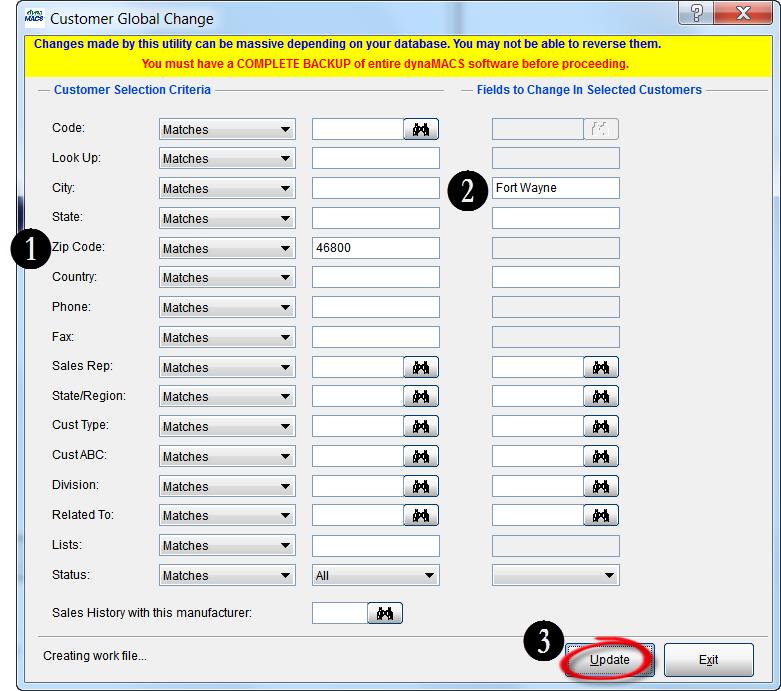
- Continue with the next steps as outlined in the previous Example #1 to complete the update.
