“dynaMACS is an empowering tool for understanding sales and analyzing trends.”
Lisa Ortega, Operations Manager
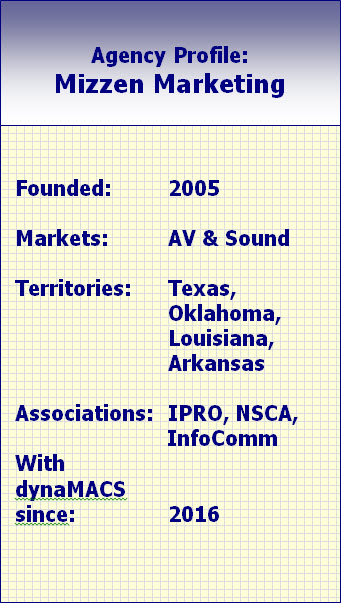
Mizzen Marketing
 Client Challenge
When it came to tracking sales and commissions, Mizzen Marketing had two primary issues: accuracy and visibility. The agency had used two different tools. With Excel, the agency noticed inaccurate sales numbers, likely due to accidental deletions. Over time, the file grew to a monster of a spreadsheet that was difficult to use and extract data from. Quickbooks provided a more accurate representation of the numbers, but data was only visible in basic reports and was stored on an accounting firm’s system, so Mizzen had to wait for information. Lisa Ortega, Mizzen Marketing’s Operations Manager, knew there must be a better way. “I mentioned to a colleague that I wanted software designed specially for sales agencies. He told me about dynaMACS.”
dynaMACS Solution
From the beginning, it was a smooth transition. “dynaMACS offered the best features minus the headaches. dynaMACS aligned perfectly with how we wanted to track sales and commissions,” Ortega says.
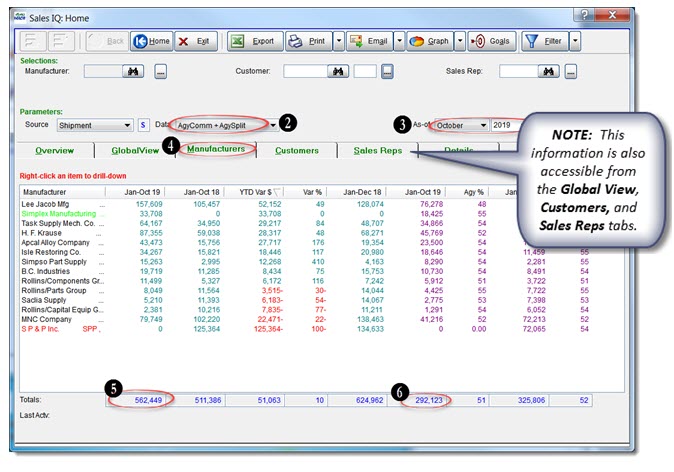
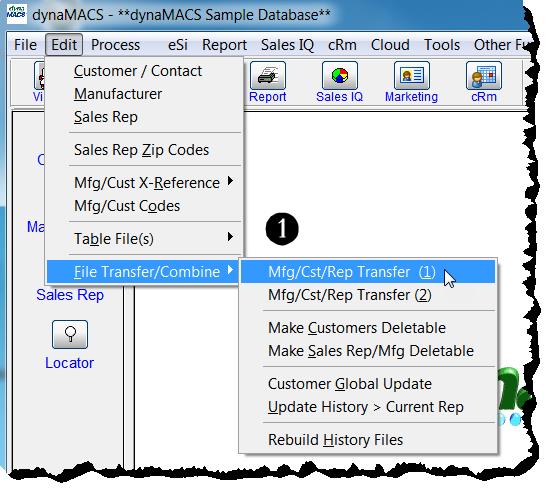
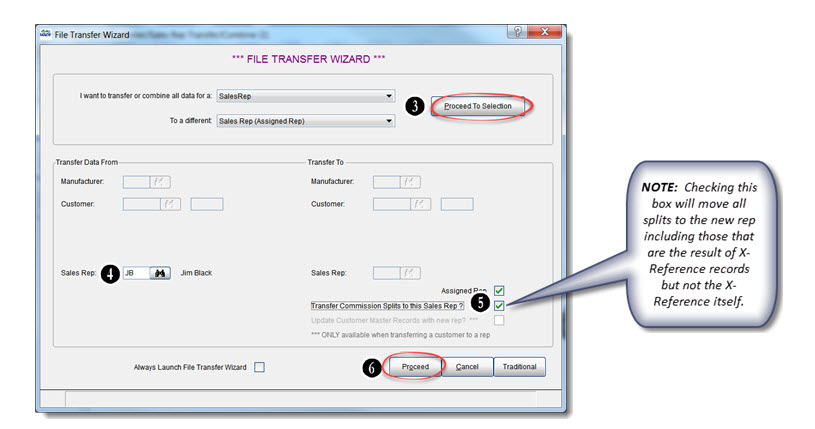
In the audiovisual space, many manufacturers sell products through distribution channels, so Mizzen Marketing must be able to track the distributors’ performance as well as the sales of the customers buying from them. With dynaMACS, the agency creates unique “Manufacturer/ Distributor” codes so they can easily evaluate the manufacturer as a whole or by individual distributor. We can also see the buying trends of the customers – who they buy from and at what volume.”
Because Mizzen Marketing can see trends, the agency is able to be proactive. “It’s insightful on so many levels,” Ortega says. “Everything we need is right at our fingertips.” Even the sales reps in the field have easy access and can pull up data on their laptops before going into a sales meeting.
Ortega calls dynaMACS an “empowering tool for understanding sales and tracking.”

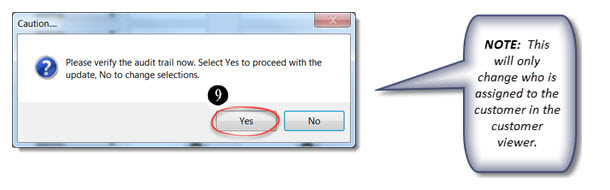
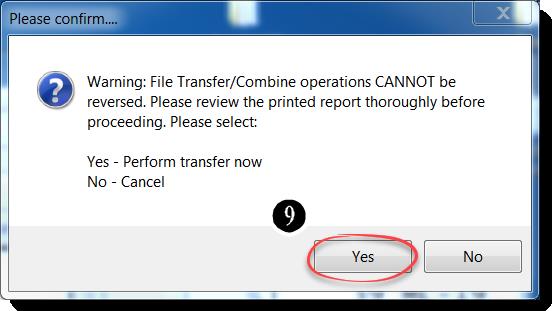
 7. Select the Yes button on the Please Confirm dialog box.
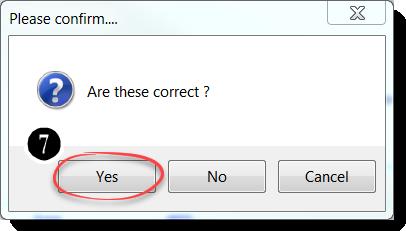

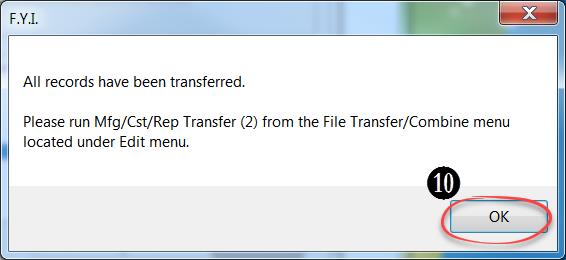
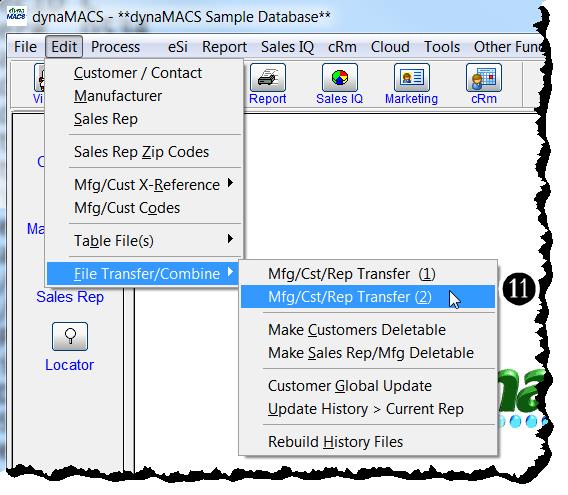
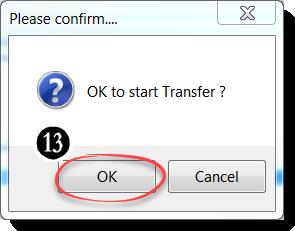
 13. Select the OK button on the Please Confirm dialog box to complete the transfer.