Tip #1703 – Transferring a Portion of One Sales Rep Territory to Another Sales Rep
dynaMACS makes it easy when you are changing your agency territories. Instead of moving one customer at a time, dynaMACS can move multiple customers at one time.
In the following example we will transfer all of sales rep Jim Black’s accounts in the state of Kentucky to the new sales rep Rick White.
Customer Global Update
First you must run the Customer Global Update.
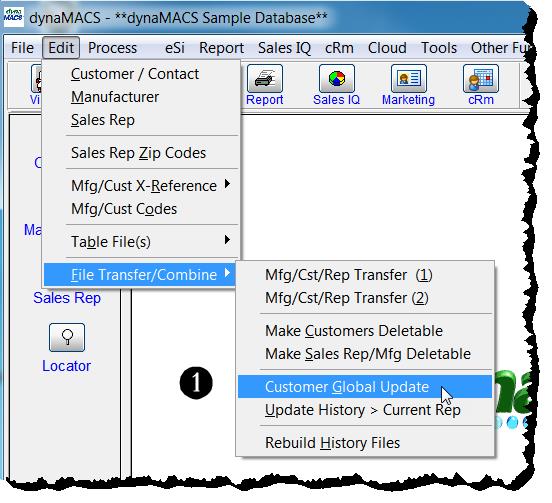
- From the main dynaMACS screen select Edit>File Transfer/Combine>Customer Global Update.
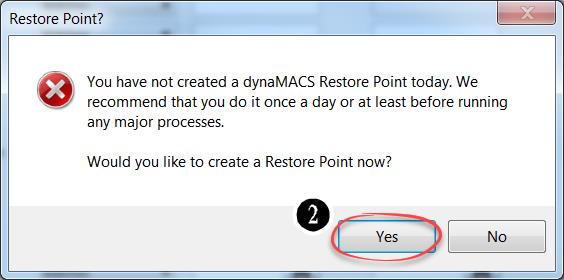
- Select the Yes button from the Restore Point? dialog box to create a restore point.
- In the Customer Global Change screen enter the state code “KY” in the State field.
- Enter the “from” sales rep code “JB” in the Sales Rep field (old rep).
- Enter the “to” sales rep code “RW” in the next Sales Rep field to the right (new rep).
- Select the Update button.

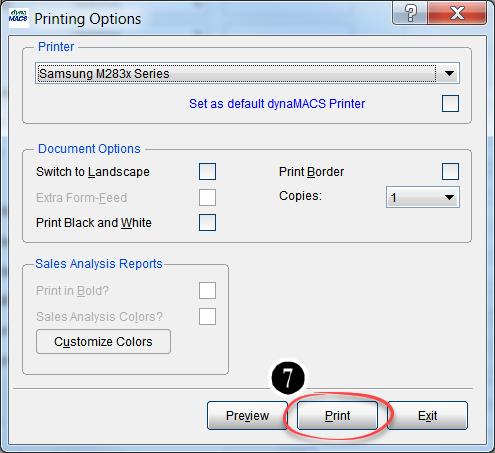
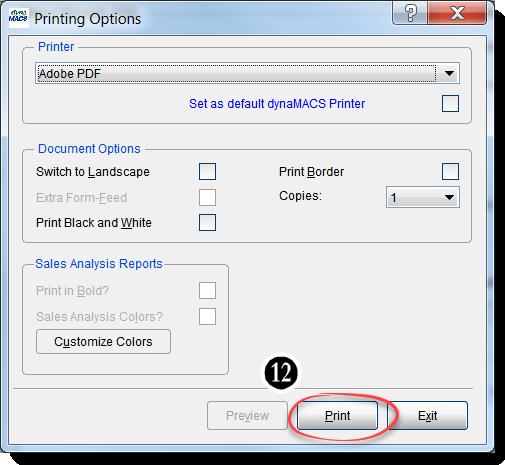
- Select the Print button from the Printing Options dialog box to print the Audit Trail report.
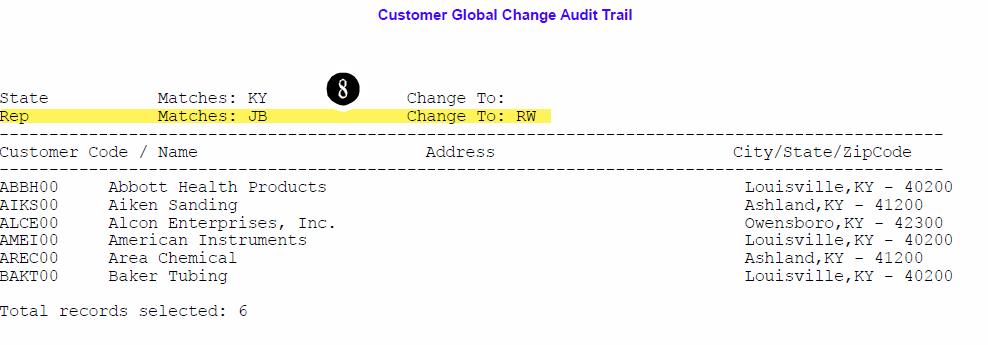
- This report shows a list of the customers that will be transferred from sales rep “JB” (Jim Black) to sales rep “RW” (Rick White).
- After reviewing the Audit Report select the Yes button to continue.
Transfer Sales and Commission History to New Rep
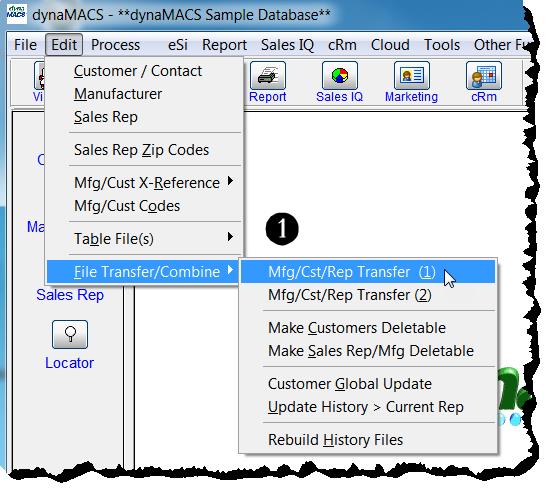
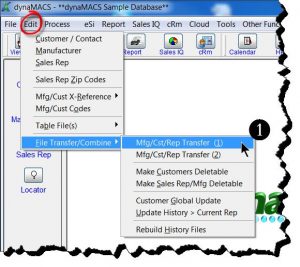
1. From the main dynaMACS screen select Edit>File Transfer/Combine>Mfg/Cst/Rep Transfer (1).
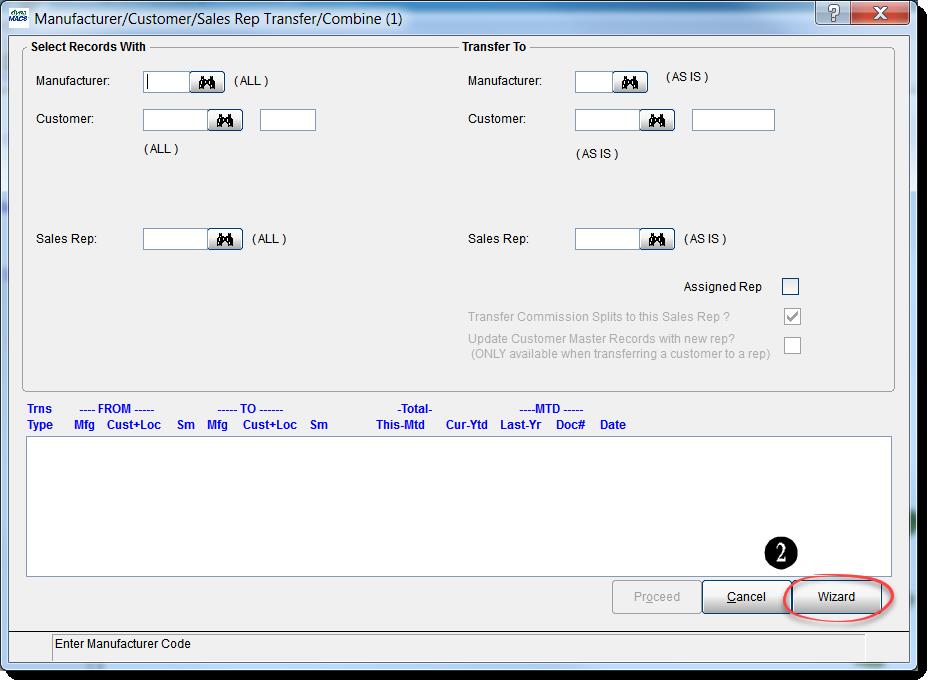
2. From the Manufacturer/Customer/Sales Rep Transfer/Combine (1) screen select the Wizard button at the bottom right hand corner which will redirect you to the Wizard screen. You will be prompted to create another Restore Point.
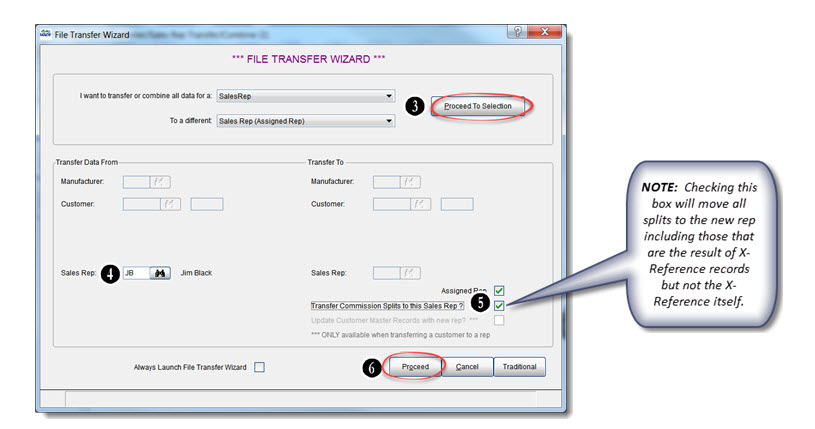
3. Select Sales Rep from the drop down list for the field: I want to transfer or combine all data for a:. Select Sales Rep and for the field: To a different. Then select the Proceed to Selection button.
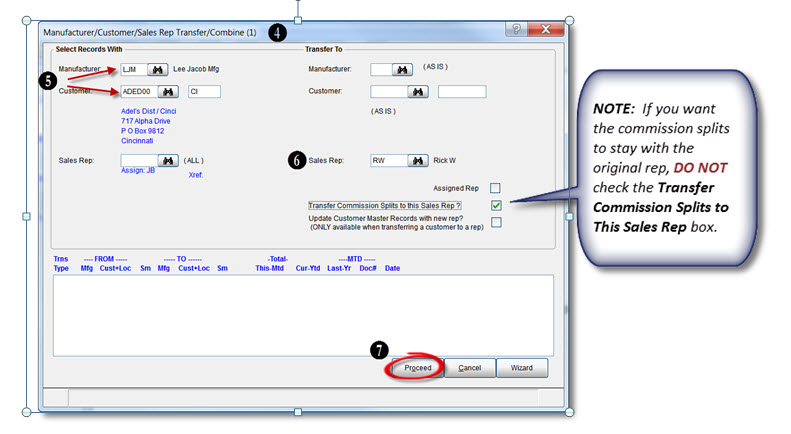
4. Enter the Sales Rep code that you are transferring from under Transfer Data From i.e. “JB”.
5. If you wish to transfer the sales rep splits, check the box Transfer Commission Splits to this Sales Rep?
6. Select the Proceed button.
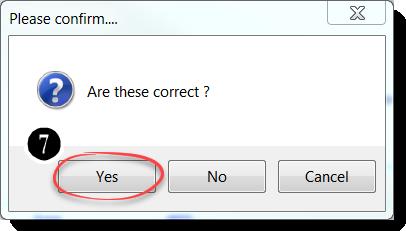
 7. Select the Yes button on the Please Confirm dialog box.
8. From the Printing Options screen select your printer and then select the Print button.

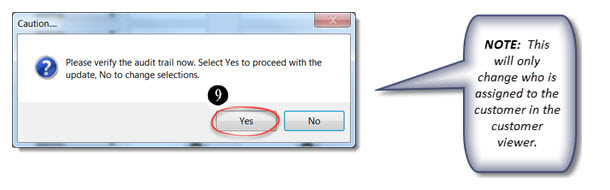
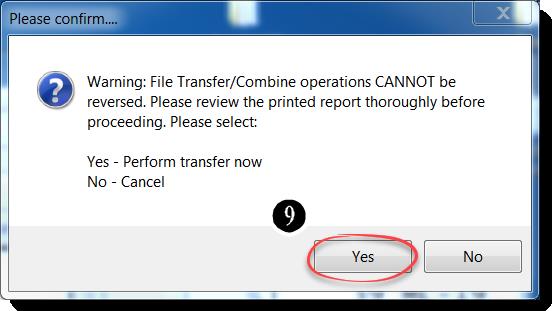
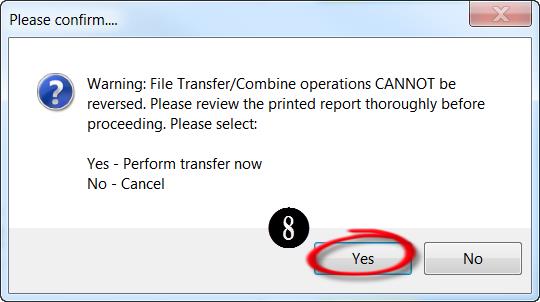
9. Review the report and then select the Yes button to complete the transfer.
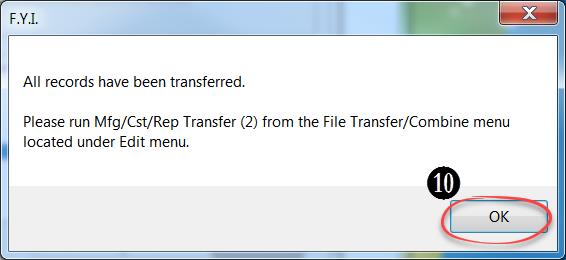
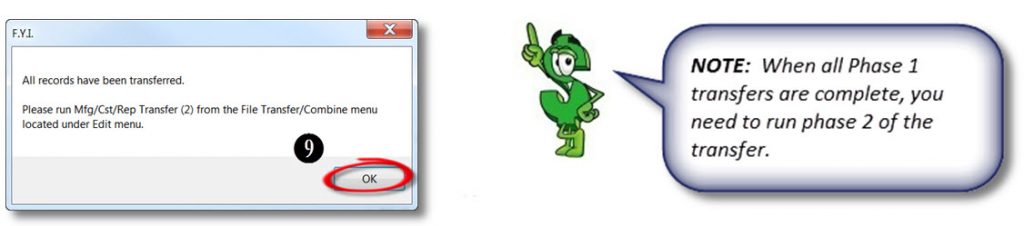
10. Select the OK button after all records have been transferred.
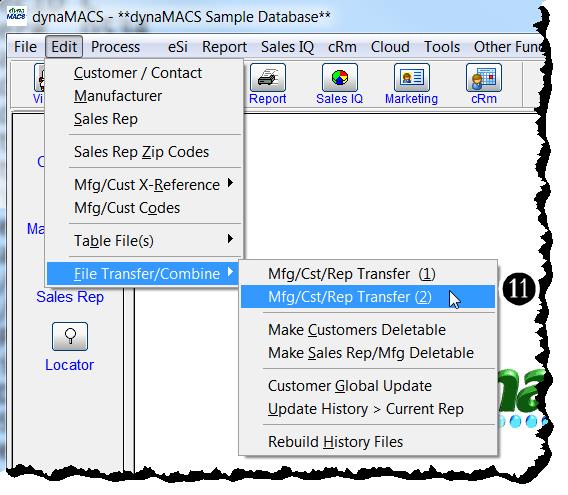
11. From the main dynaMACS screen select Edit>File Transfer/Combine>Mfg/Cst/Rep Transfer (2).
12. Print the report when prompted by selecting the Print button.
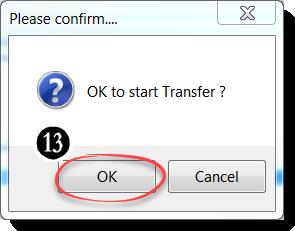
 13. Select the OK button on the Please Confirm dialog box to complete the transfer.

 Repeat steps 4 through 9 for as many transfers as needed.