Tip #1405 – Maximize the dynaMACS State/Region Zip Code Feature
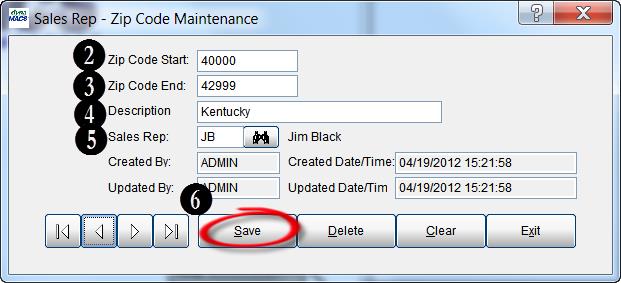
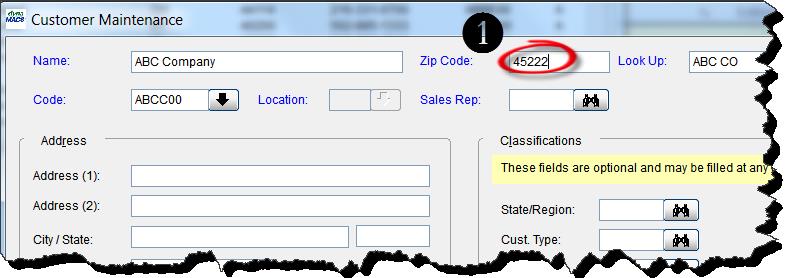
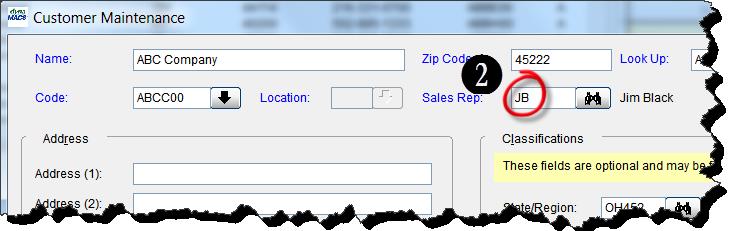
dynaMACS has a powerful feature that automatically populates the State/Region field based on the Zip Code entered when adding or updating customer records (provided a valid 5 digit zip code is used). The use of the State/Region code is beneficial when generating reports in either Sales IQ or a Sales Analysis report. The following instructions show you how to activate this feature.
***IMPORTANT! PLEASE create a restore point before activating this feature and running the utilities!***
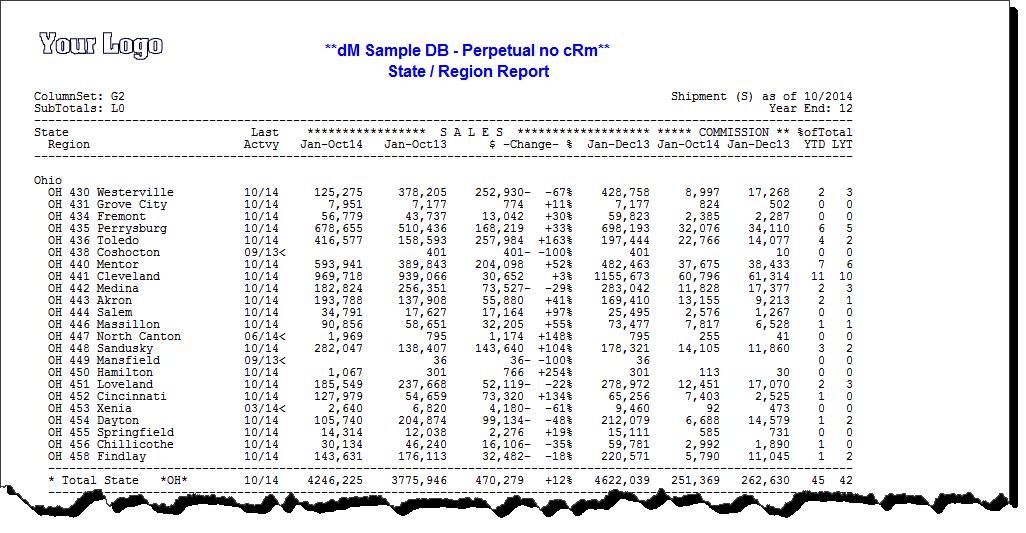
Example of a State/Region Report printed from Sales Analysis Rpt Generator:
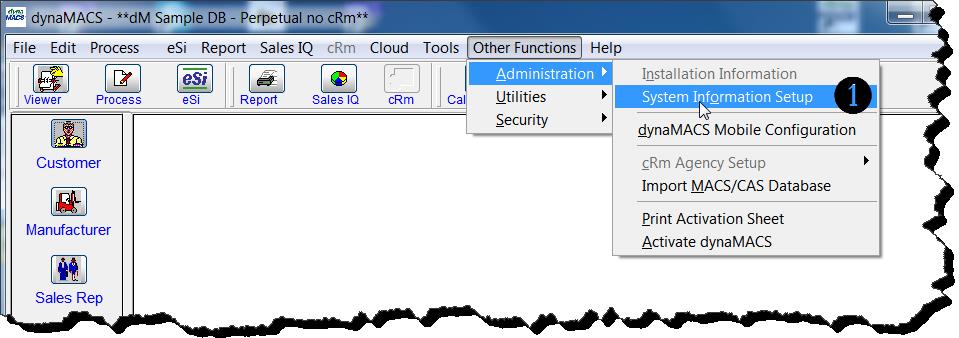
Step 1: Turn on the Auto Build State/Region Feature in System Information Setup
- From the dynaMACS main screen select Other Functions>Administration>System Information Setup.
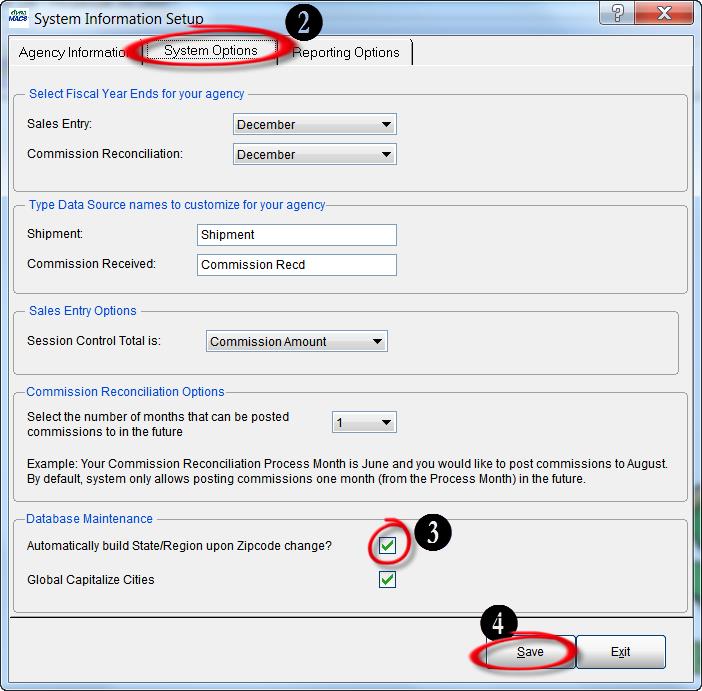
- Select the System Options tab.
- Check the box Automatically build State/Region upon Zip Code Change?
- Select the Save button.


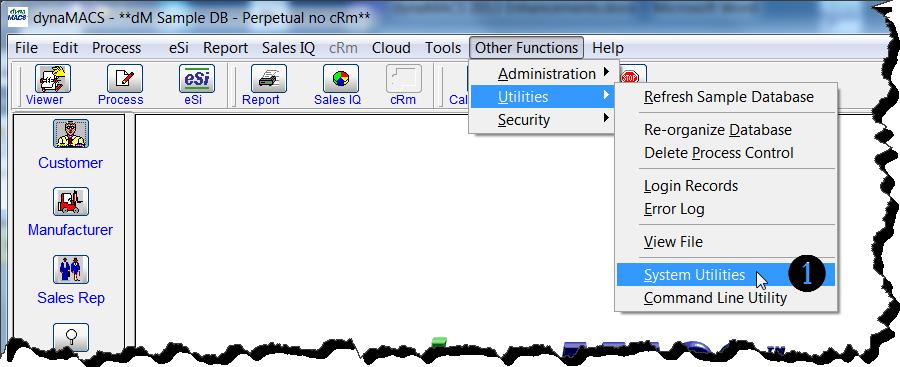
Step 2: Run System Utility 1007 (Creates Customer State/Region codes table)
- From the dynaMACS main screen select Other Functions>Utilities>System Utilities

- Select Utility #1007
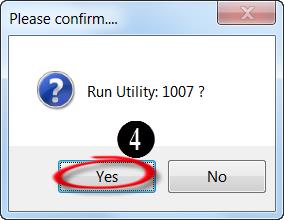
- Select the Run button

- Select the Yes button on the Confirmation dialog box.
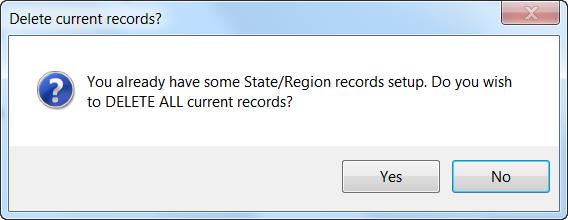


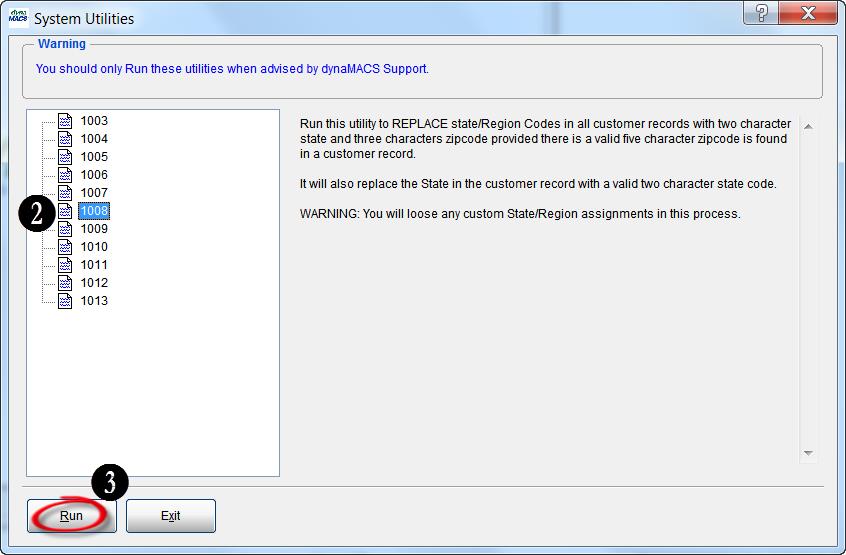
Step 3: Run System Utility 1008 (Replaces Customer State/Region codes in customer records)
- From the dynaMACS main screen select Other Functions>Utilities>System Utilities
- Select Utility #1008
- Select the Run button to complete the update.