Posts

Tip #1604 – Did you Know that the Customer State and City can be Printed on Your Sales IQ Reports?

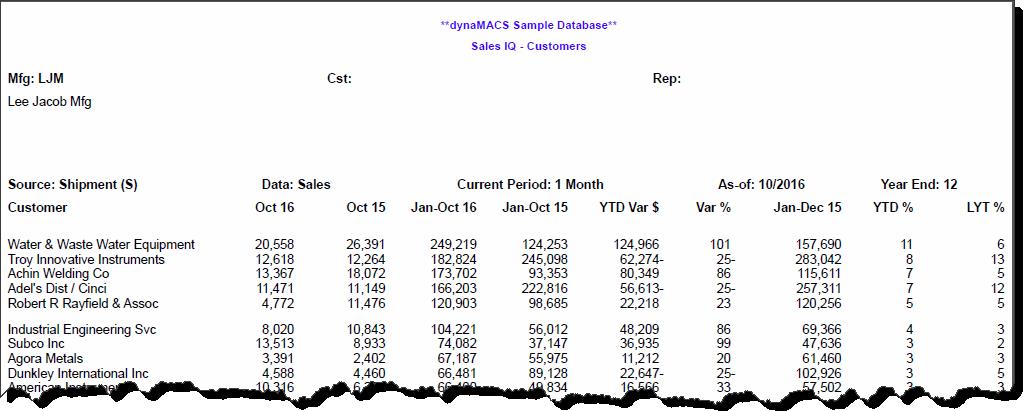
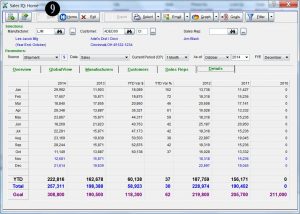
When selecting the Print button from the Sales IQ Customer screen, the report does not display the customer’s state and city as you can see in the example below.  This tip will give you instructions to change your printing options enabling you to print that information on the Sales IQ Customer report.
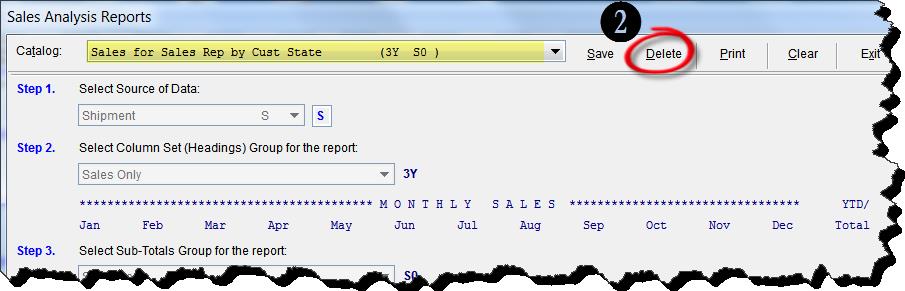
Example

Sample Report 1


Printing the Customer State and City on the Sales IQ Report

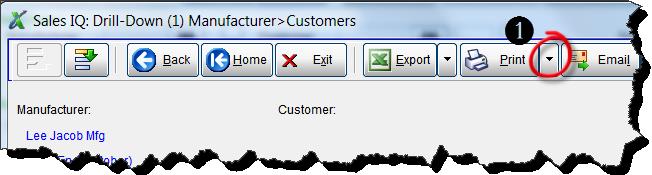
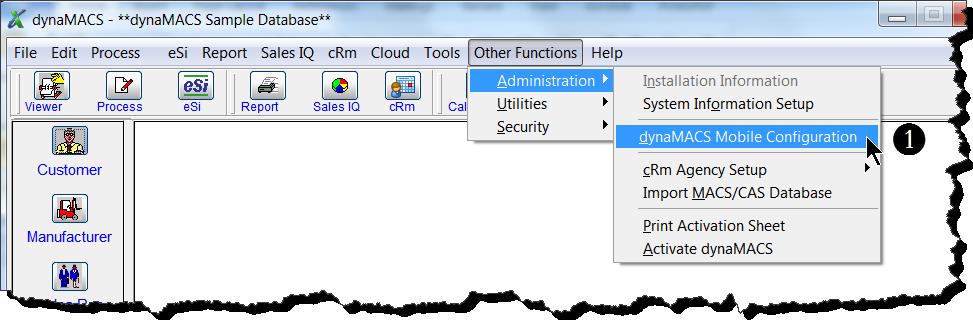
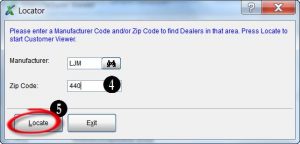
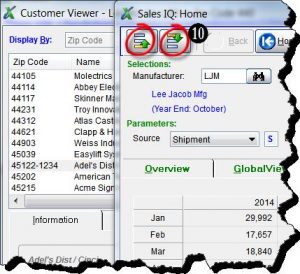
  1.  After making selections defining your Sales IQ customer query, click on the Down Arrow button to the right of the Print button.Sales IQ Screen 1
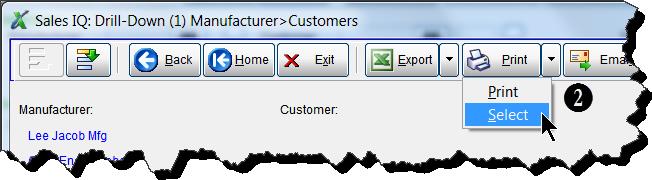
  2. Choose Select from the drop down box.Sales IQ Screen 2
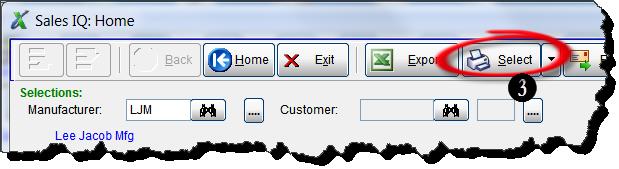
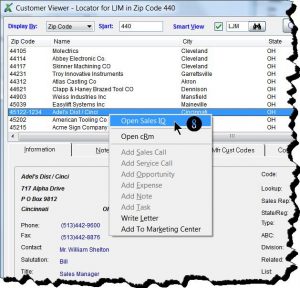
  3. You will see that the Print button has now changed to a Select button.  Choose the  Select button.Sales IQ Screen 3
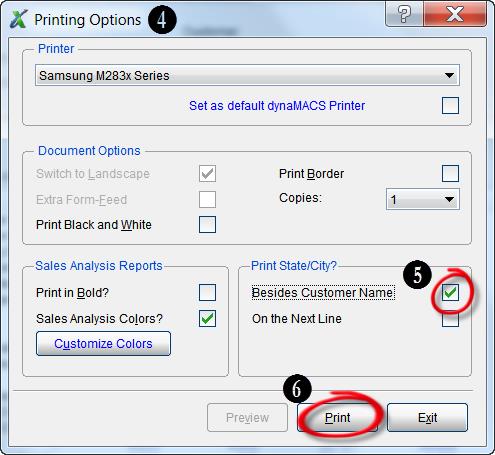
  4. A Printing Options box will open.   From here you to change your default printer and edit other printing options.
  5. Select one of the checkboxes under Print State/City? You can choose print Beside Customer Name which will print the city and state to the right of the customer name.  Or, you can choose On the Next Line which will print the state and city on the line below the customer name.  (See the examples below to view the layout of each of these options.)
  6. Select the Print button.

Printing Options

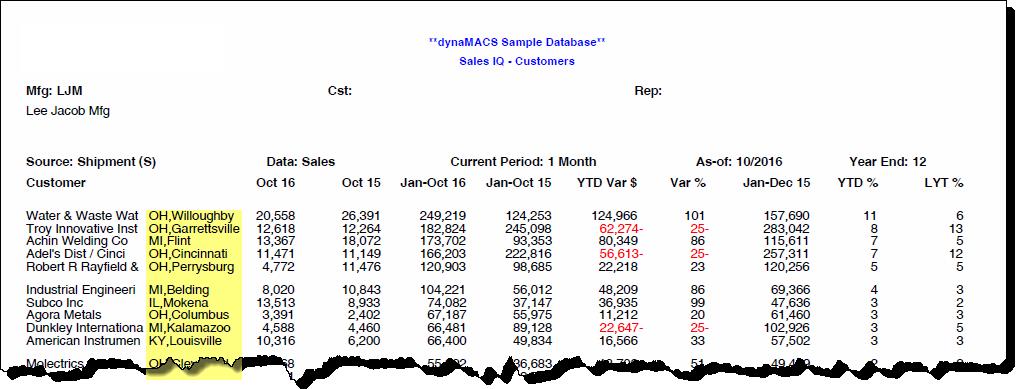
Example of Printing State and City Beside the Customer Name:

Sample Report 2

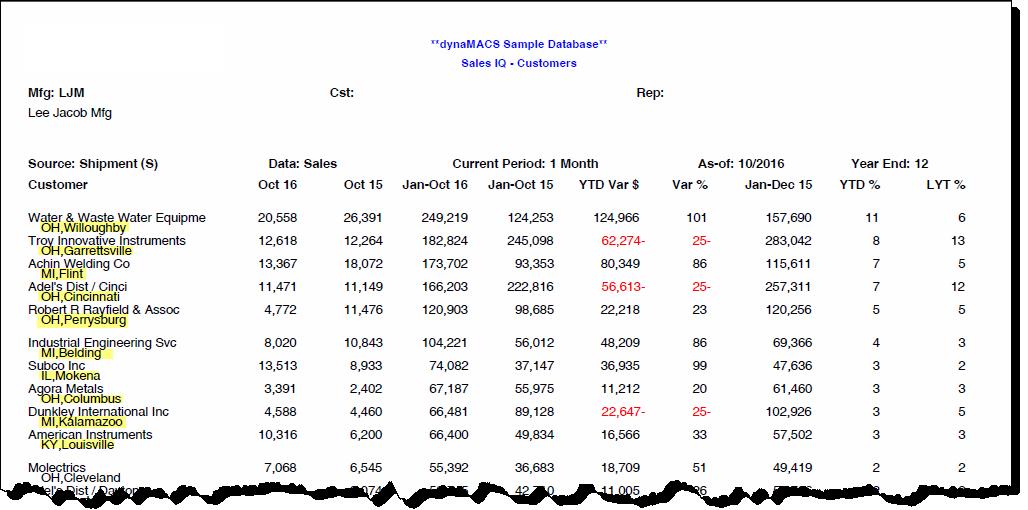
Example of Printing State and City on the Next Line:

Sample Report 3

Tip #1603 – How to Delete a dynaMACS Mobile User

You must first delete the mobile user from the dynaMACS Mobile Configuration screen and then delete it from the User Class Maintenance screen.  Below are the steps required to delete a dynaMACS Mobile user.

Delete a Mobile User from dynaMACS Mobile Configuration

The first step is to delete the mobile user from the dynaMACS Mobile Configuration screen.

  1.  From the main dynaMACS screen select Other Functions>Administration>dynaMACS Mobile Configuration.DM Main Screen
  2. From the dynaMACS Mobile Configuration screen, enter the serial # of the user that you wish to delete.
  3. If you don’t know the serial number, you can use the Arrow buttons at the bottom left of the screen to look through all of your mobile users until you find the correct one.Mobile Config Screen
  4. With the mobile user displayed in the dynaMACS Mobile Configuration screen, select the Delete button at the bottom of the screen.Mobile Config Screen 2
  5. Confirm that you wish to delete this user by selecting the Yes button in the confirmation dialog box.Confirmation Dialog Box

Note_dynaCARE

The mobile user has now been deleted from the dynaMACS Mobile Configuration screen.

Delete a Mobile User from dynaMACS User Class Maintenance

The last step is to delete the mobile user from the dynaMACS User Class Maintenance screen.

    1.  From the main dynaMACS screen select Other Functions>Security>User/Class Maintenance.

      DM Main Screen 2
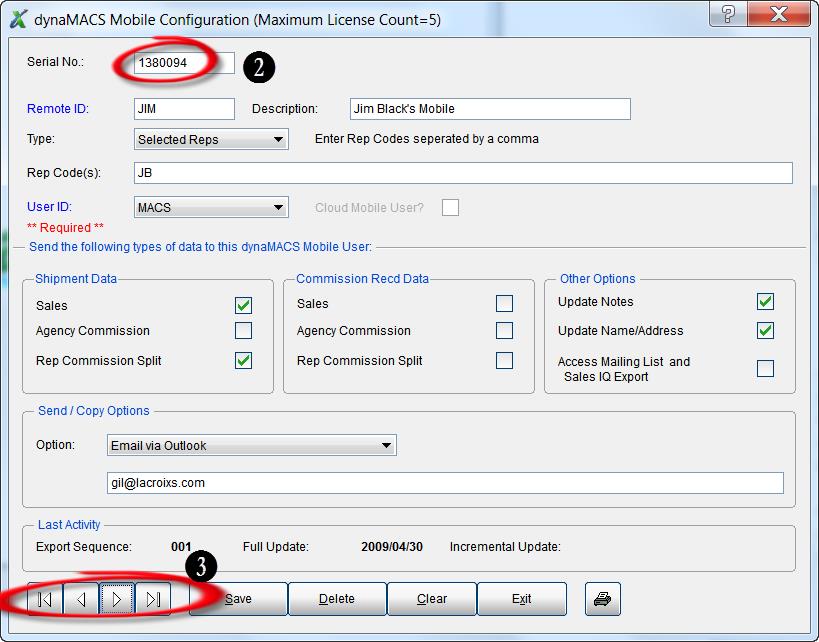
      2.  Enter the Mobile User ID or select it from the drop down list in the User-ID field.
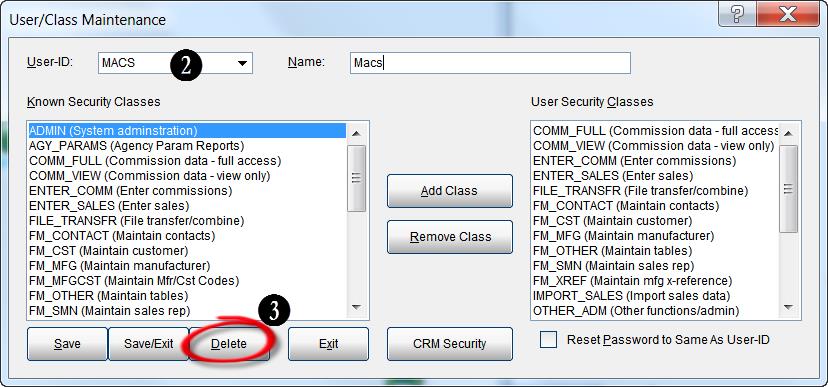
      3.  With the correct Mobile User ID selected, click the Delete button.User Class Maint Screen

Tip #1602 – Did You Know That You Can “Catalog” (Save) Your Commonly Used Reports

The Sales Analysis report feature in dynaMACS provides the ability to save a sales analysis report by “cataloging” it.  This eliminates the need to re-enter the report criteria each time you need to run the report by selecting it from the Catalog drop down menu in the Sales Analysis Reports screen.  The following are examples of creating, retrieving and deleting catalogs.

Creating a Catalog:

  1. After selecting your report criteria in the Sales Analysis Reports screen, select the Save button at the top of the screen.
  2. In the Catalog Report As box, enter a name for your report in the Name field and select the OK button.
    Sales Analysis Reports Screen

Retrieving a Catalog:

  1. To access your saved catalogs from the Sales Analysis Reports screen, select the Down Arrow next to the Catalog field and then select the catalog for the report you want to print.Sales Analysis Reports Screen (2)

Deleting a Catalog:

  1.  From the Sales Analysis Reports screen, select the Down Arrow next to the Catalog field and then select the catalog that you wish to delete.Sales Analysis Reports Screen (3)
  2. Once the catalog is displayed; select the Delete button at the top of the Sales       Analysis Reports screen to delete the catalog.
    Sales Analysis Reports Screen (4)

Tip #1601 – Looking up and Changing Information “on-the-fly” in Sales Entry

dynaMACS provides the ability to look up detailed information, make changes or add a location  “on-the-fly” during sales entry.

Example:

In the following example we will look up the details of the Customer Adel’s Dist/Cinci while in the Sales Entry screen.

  1.  From the Sales Entry screen enter the Manufacturer code.  For this example we will use LJM.
  2. Select the look up button next to the Customer field which will open the Customer       Viewer screen with all customers for the selected manufacturer displayed.
  3. Highlight the customer.  For this example we will select Adel’s Dist/Cinci.
  4. Select the Details button.  This screen will display all of this customer’s details.
  5. You may make additions or modifications.
  6. To return to the Sales Entry screen, select the Exit button at the bottom of the screen.

Sales Entry-Cust Viewer-Note

Tip #1512 – Finding Customers for a Certain Manufacturer Easily Using the Smart View Locator

You can find customers in a zip code that buy from a particular manufacturer by using the Smart View Locator from the Manufacturer Viewer screen.

Example:

In the following example we will look for customers that buy from the manufacturer Lee Jacob Mfg (LJM) in the zip code area beginning with 440 and then display the sales activity for one customer, Adel’s Dist/Cinci.

  1. From the Main dynaMACS screen select the Manufacturer Viewer icon.
    Main Screen
  2. From the Manufacturer Viewer screen highlight the manufacturer Lee Jacob Mfg (code LJM)
  3. Select Open Smart View Locator.Open Smart View Locator
  4. Enter 440 in the Zip Code field in the Locator dialog box.
  5. Select the Locate button.Locator
  6. The Customer Viewer screen will display all customers that buy from Lee Jacob Mfg in the zip code beginning with 440.
  7. Highlight the customer Adel’s Dist/Cinci and right click.
  8. Select Open Sales IQ.Open SIQ
  9. The Sales IQ screen will be displayed showing the sales activity for the customer Adel’s   Dist/Cinci buying from the manufacturer Lee Jacob Mfg.SIQ
  10. From here you can select the Up and Down arrows to see additional customers.SIQ Green Arrows

Case Study: R C Bremer Marketing Associates, Inc.

 “Before implementing dynaMACS eSi, four people manually entered thousands of invoices. With eSi, one person enters all data. It saves us huge amounts of time and money. ”

Joe Falk, President
R.C. Bremer Marketing Associates, Inc.

RCBremer_LogoClient  Challenge

 Since beginning his career with R.C. Bremer 18 years ago, Joe Falk was a sales rep, obtained CPMR certification, specialized in safety and eventually purchased the company from Bob Bremer in 2007.

During the transition, Falk was glad that he and the team had selected dynaMACS as its agency software in 2003 because “it’s rep-specific. dynaMACS understands how we work and what we’re looking for,” Falk says. Having the right software in place was one less thing that required Falk’s time and attention during the transition.

RCBremer_StatisticsdynaMACS Solution

R.C. Bremer reaps the benefits of dynaMACS’ features that enable the agency to operate more efficiently and effectively, including:

eSi

With dynaMACS eSi the agency imports manufacturers’ sales invoices and reports electronically. “Before implementing eSi, end-of-month was a nightmare. Four people manually entered thousands of invoices. Now, one person enters all data. It saves us huge amounts of time and money,” Falk says.

Sales IQ

With Sales IQ, he looks at customer data in various ways. For example: “I look at this year’s versus last year’s data to see which lines are up or down.” he says. He is able to monitor the agency’s performance using recent sales and commission figures.

Commission tracking

Falk also tracks commissions. “Manufacturers are 30 to 60 days behind. We don’t get paid until they get paid.”

dynaMACS Mobile

R.C. Bremer sales reps can “take dynaMACS on the road.” They are able to download up-to-date numbers, so they have complete information on their territory.

For R.C. Bremer, dynaMACS has been the trusted solution for tracking sales and commissions and paying reps for more than 12 years…and going strong.