Tip #1501 – dynaMACS HELP Options

The dynaMACS Help menu provides several resource options for information and quick access to assistance within the dynaMACS program.  The following tip will explain the options available.

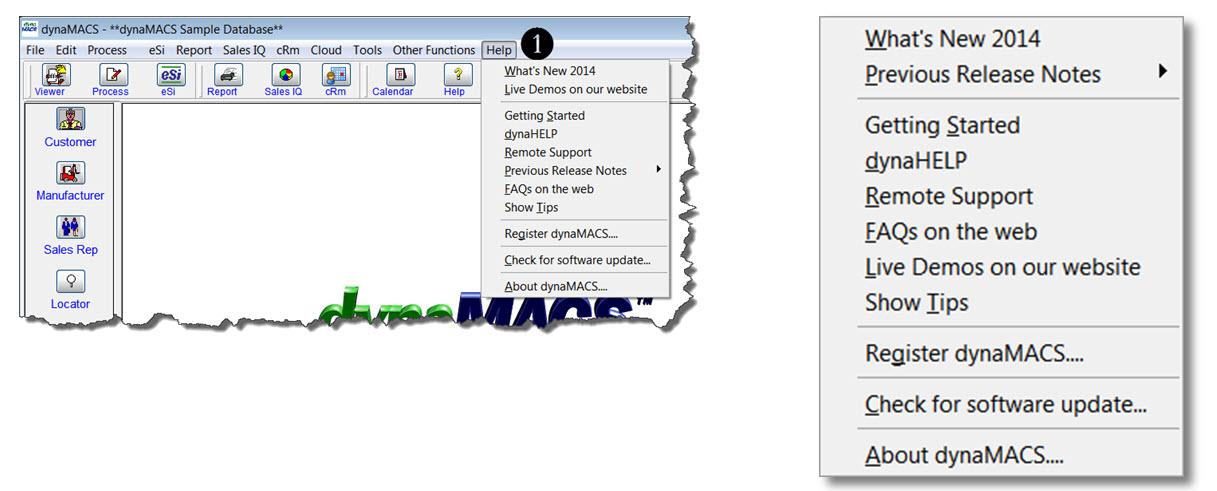
  1. You can access the Help menu from the menu bar.HelpMenu_Image
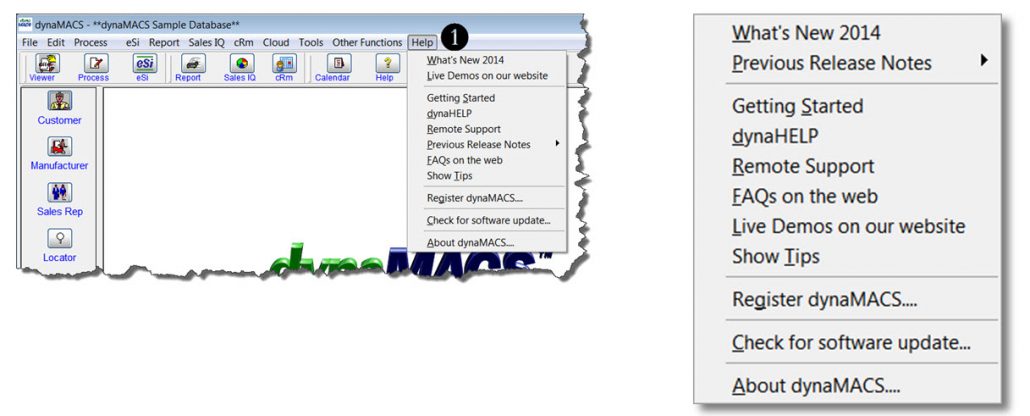
  2. Selecting the What’s New… option will open a PDF document that contains information about new functionality in your version of dynaMACS.
  3. Selecting the Previous Release Notes option will open a sub-menu listing available previous release notes in PDF format which details the fixes and enhancements for each release.Help Menu 3
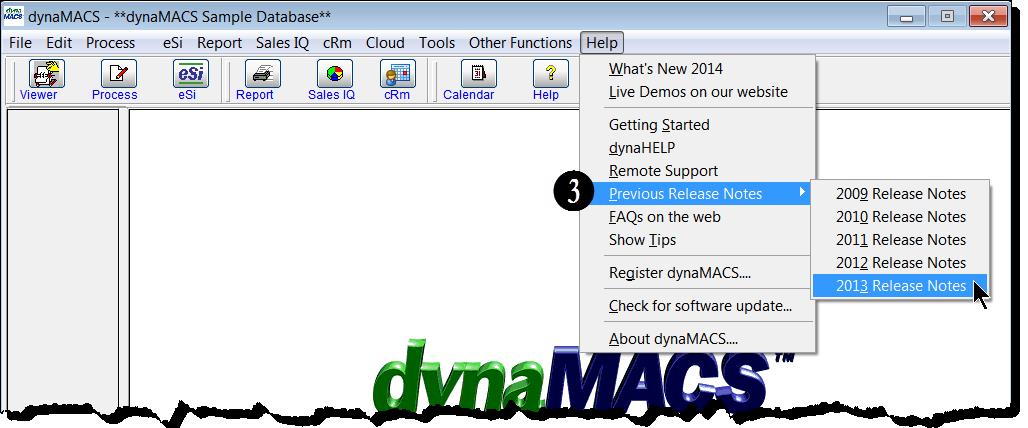
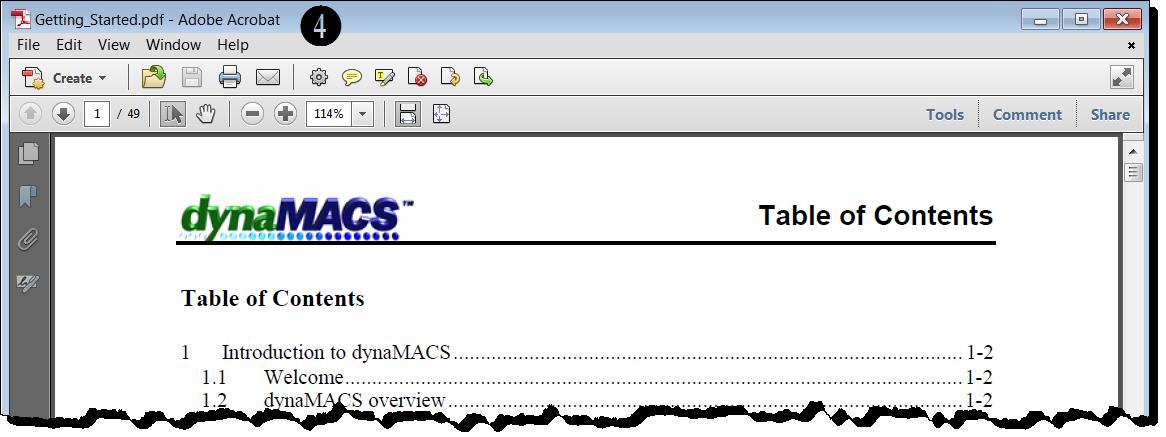
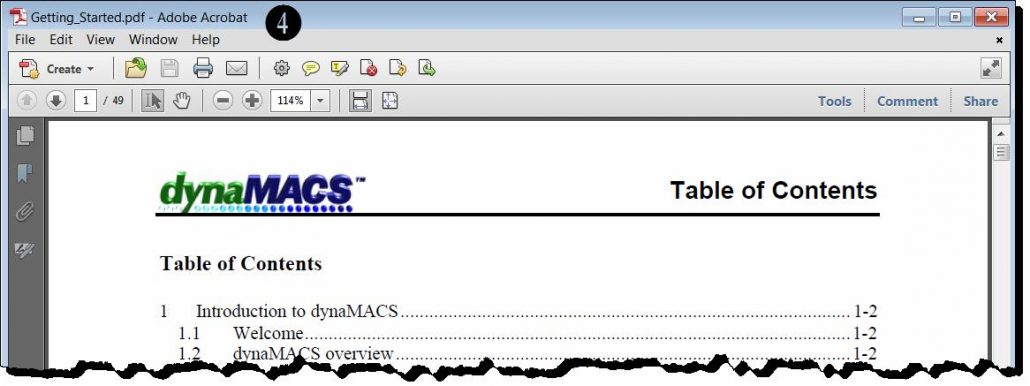
  4. Selecting the Getting Started option will open a PDF document that discusses the pertinent “getting started” subjects when first using the dynaMACS application.Getting Started
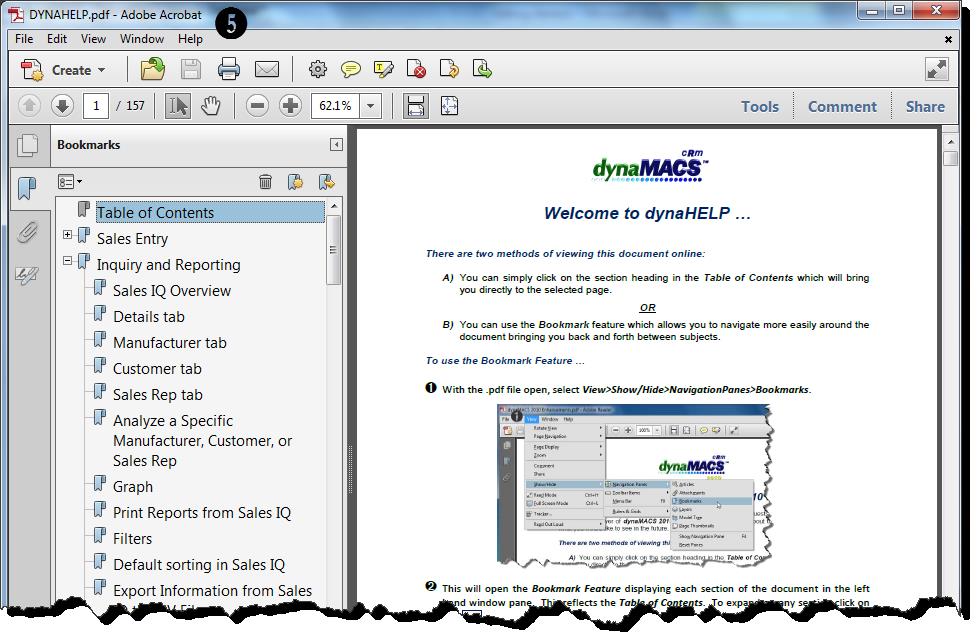
  5. Selecting the dynaHELP option will open a PDF document that contains help on functionality of all features of dynaMACS.dynaHELP
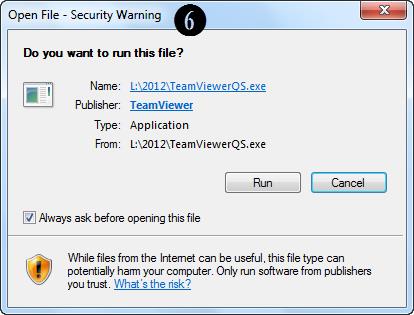
  6. Selecting the Remote Support option will open Team Viewer which is a remote access program.  This feature should only be used when talking with a member of the dynaMACS support team.  This will allow dynaMACS support to connect directly with a dynaMACS user during a support call.Remote Support
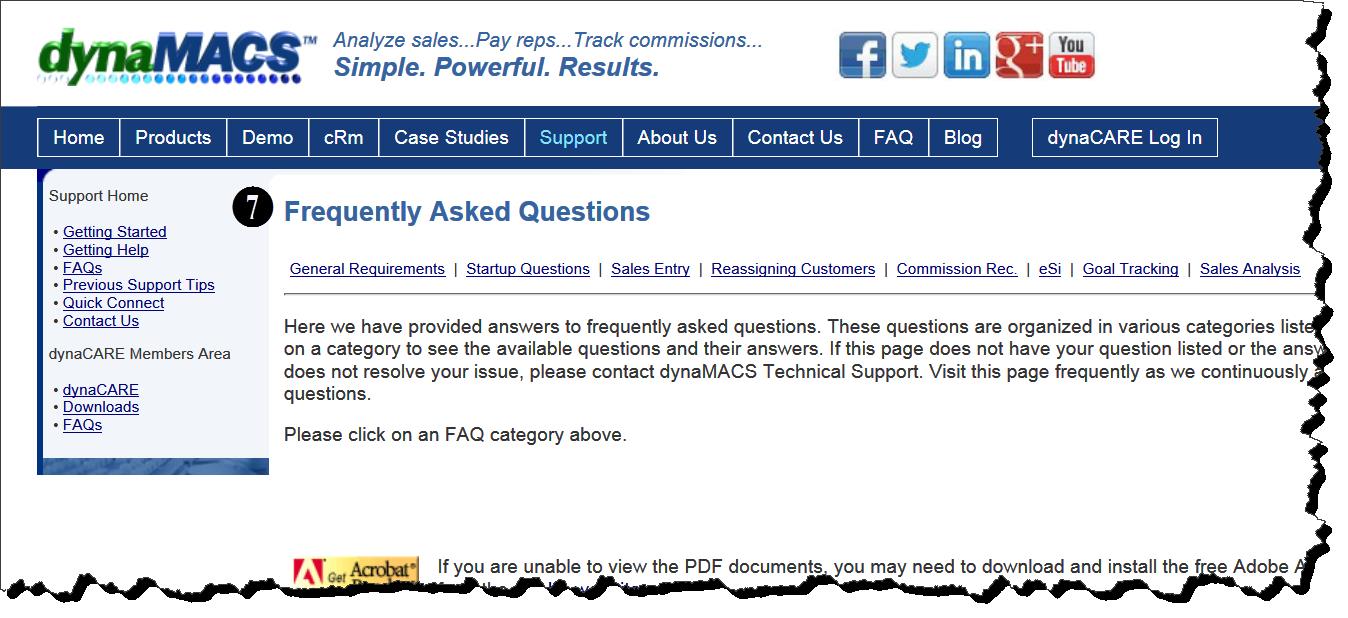
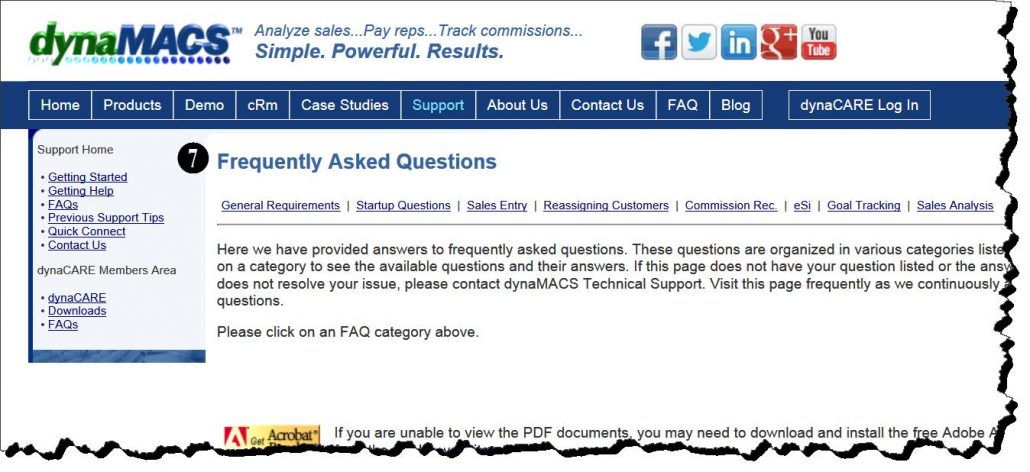
  7. Selecting the FAQs on the web option will launch your web browser and go directly to the Frequently Asked Questions page on dynaMACS.com.FAQ's
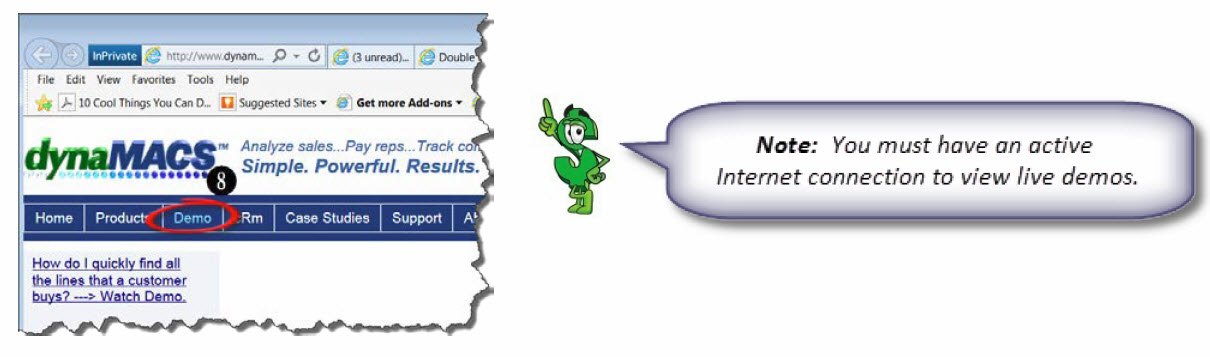
  8. Selecting the Live Demos on our website option will launch your web browser and go directly to the demos page on dynaMACS.com.LiveDemoImage
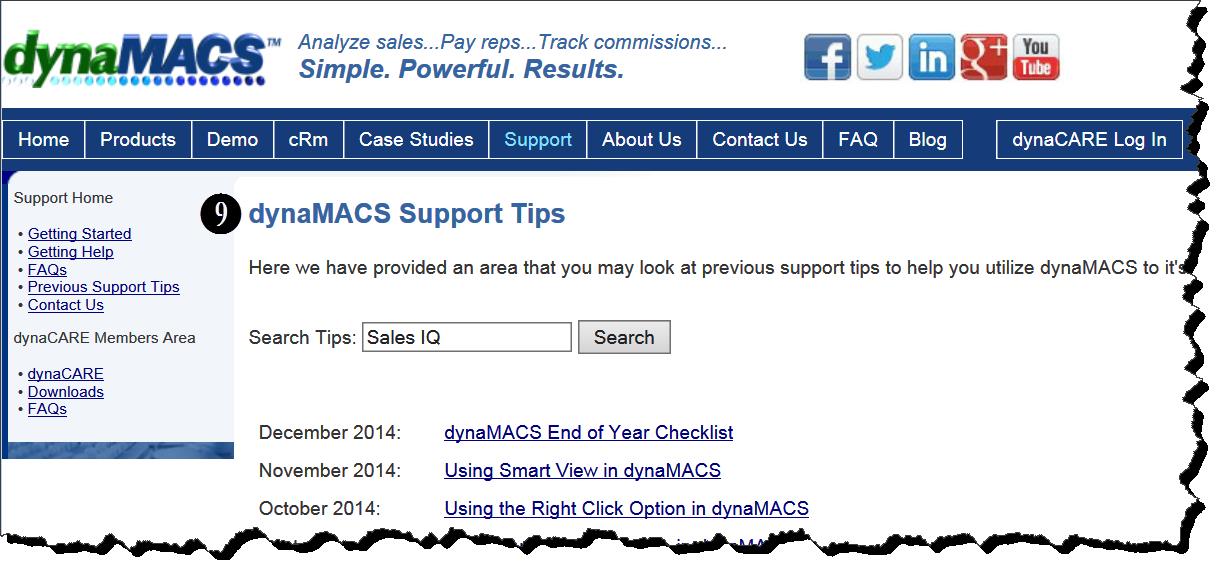
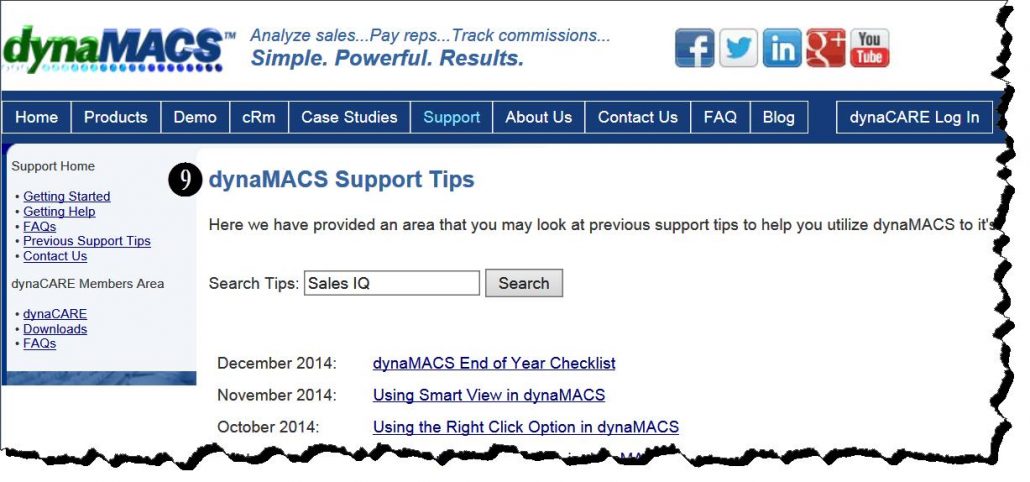
  9. Selecting the Show Tips option will open the dynaMACS web site displaying all of the dynaMACS Support Tips.  Here you can enter a key word search in the Search Tips field or simply click on a tip from the list.Show Tips
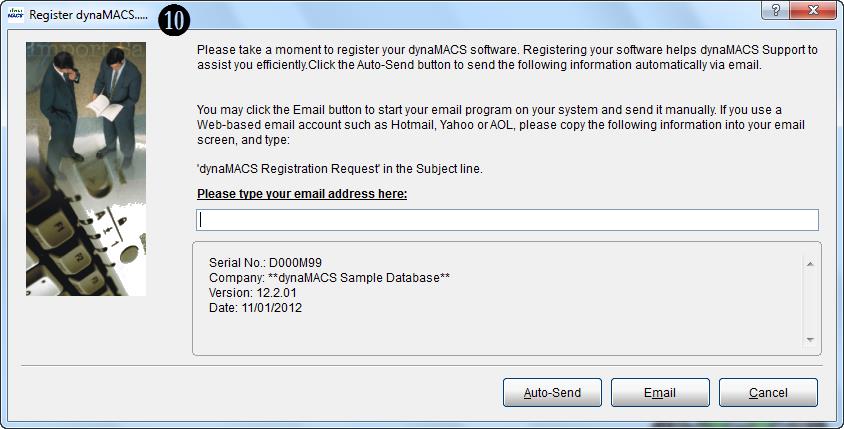
  10. Selecting the Register dynaMACS option will open the Register dynaMACS screen to email your registration to dynaMACS.  This is typically done only when a dynaMACS Support Team representative advises that this be done.Register DM
  11. Selecting the Check for Software Update… option will close your dynaMACS program and open an update program.   It is advised that you check for software updates on a monthly basis.CheckforSoftwareUpdate
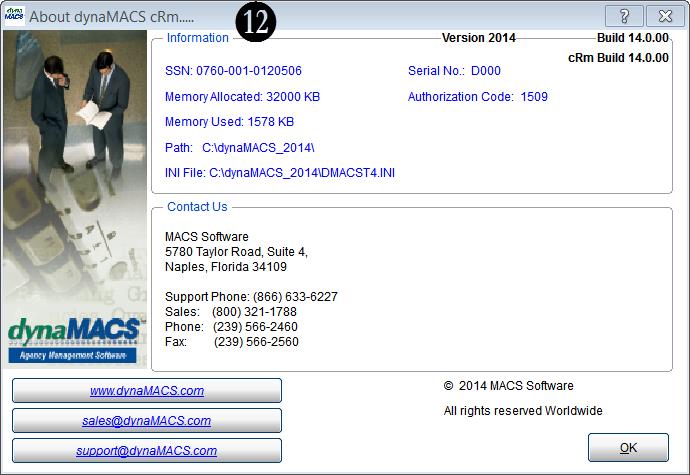
  12. Selecting the About dynaMACS option provides information about dynaMACS software.About DM

Tip #1412 – dynaMACS End of Year Checklist

The end of year is an ideal time to review your dynaMACS database.  The following checklist will help guide you to areas that may benefit from a review.

Manufacturer:

Mfr_Status

Commission_Rates

X-Ref_Override

Sales Reps:

SalesRepsSplits


Customer:

Cust_Rep_Assignments

Cust_Classifications


Customer_Status

Customer_Transfer

Goal Tracking**:

Goals
Goals_Seasonality

Disclaimer

Tip #1411 – Using Smart View in dynaMACS

 Smart View is a feature in dynaMACS that lets you view customers with sales history for a selected manufacturer.  This feature is available from the Sales Entry and the Locator screen.

Example of Using Smart View in Sales Entry

    1. From the Sales Entry screen with a manufacturer selected (the manufacturer LJM has been selected for this example), click on the Customer Search button to display the list of ALL customers.
    2. Notice that in this example there are 287 customer records.Sales Entry - Cust Viewer 1
    3. Click on the Smart View check box to display only customers with history for this manufacturer.
    4. Notice that in this example there are now only 72 customer records displayed.  These are the customers with sales history.Sales Entry - Cust Viewer 2

Example of Using Smart View from the Locator

      1. From the Locator screen enter a manufacturer code i.e. LJM.
      2. Select the Locate button.Locator
      3. Notice that in this example there are 287 customer records.  This displays ALL customers.Customer Viewer 1
      4. Click on the Smart View check box to display only customers with history for this manufacturer.
      5. Notice that in this example there are now only 72 customer records displayed.  These are the customers with sales history for Lee Jacob Mfg.Customer Viewer 2

Tip #1410 – Using Right Click Options in dynaMACS

Have you discovered the dynaMACS “right click” feature that is available in Sales IQ,  the Viewer screens and cRm for quick navigation?  When using this feature in Sales IQ you can quickly drill down to specific data when analyzing your sales and commissions. If using this feature in any of the Viewers, you can get directly to Sales IQ for the selected manufacturer, customer or sales rep.  If you have cRm you can use this feature from the viewers to access cRm actions such as writing a letter, adding activities, adding customers and manufacturers to the Marketing Center and accessing Sales IQ.

Using Right Click in Sales IQ

The following example we will look at the use of the right click function from Sales IQ to see the sales reps for a manufacturer and who their customers are.

  1. From the Sales IQ screen, select the Manufacturer tab.
  2. Highlight the manufacturer, right click and select Show Sales Reps from the drop down list.  (In this example we are going to look at the manufacturer Lee Jacob Mfg.)SIQ Home Screen 1
  3. The next screen displays all sales reps for the manufacturer Lee Jacaob Mfg.
  4. To see all of the customers for the sales rep Jim Black that buy from Lee Jacob Mfg, highlight and right click on Show Customers from the drop down list.SIQ Drill Down 1
  5. The next screen displays all of Jim Blacks customers that buy from the manufacturer Lee Jacob Mfg.SIQ Drill Down 2

Additional Right Click Options

Now that you know how the right click functionality can make your information search much easier, there are other areas within dynaMACS that have this feature.

Customer Viewer and Manufacturer Viewer

Right clicking on a customer or manufacturer will take you directly to Sales IQ.  In addition, if you have the dynaMACS cRm module, you will also have options to open cRm, add activities, write a letter or add to the marketing center for blast emails or bulk mailings.

Customer Viewer

Sales Rep Viewer

Right clicking on a sales rep will take you directly to Sales IQ displaying the details for the sales rep.

Sales Rep Viewer

cRm Screen

The use of the right click in dynaMACS cRm will help you manage your activities, such as add, edit, delete, etc.  You can also change the status of activities quickly.  Other options are applying a record as a selection and going directly to Sales IQ for a selected record.

cRm

Tip #1409 – Using Customer Locations in dynaMACS

Some agencies have the need to separate sales numbers within a customer for reasons such as:

  • Multiple buyers that are responsible for making buying decisions for different manufacturers
  • Giving credit to different reps for something shipping to a different location
  • For these purposes, dynaMACS gives you the ability to add multiple locations to a customer.  If locations are used, you can use the Filters feature to display these numbers in Sales IQ summarized, displaying them as combined under one customer, or you can display the sales numbers for the individual locations.

Filtering on Locations in Sales IQ

When displaying sales activity for a customer in Sales IQ you can view all sales activity by customer location (default) or you can summarize sales by using the Filter button.

In the following example we will look at the customer Adel’s Dist which has three locations.

  1. From the Sales IQ Home screen the Customer tab has been selected showing all customers and the sort is on the Customer column.
  2. You can see that there are three Adel’s customers displayed by individual locations.
  3. Select the Filter button.Sales IQ Home Screen 1
  4. Check the Summarize box to the right of the Customer field.
  5. Select the Apply button.Filters Screen 1
  6. The Sales IQ screen now displays all Adel’s locations summarized and totaled.Sales IQ Home Screen 2

To Create a Customer Location

The following example explains how to add a location to an existing customer.

  1. Select the Viewer icon.
  2. Select the Customer icon.dynaMACS Home Screen
  3. Highlight the Customer that you will be adding a location to.
  4. Select the Add Location button.Customer Viewer Screen 1
  5. In the Customer Maintenance screen you will notice that the customer information from the selected customer will be defaulted i.e. the address, phone #’s, etc.  Make any changes required for your new location and select the Save/Exit button.NoteCustomer Maintenance Screen
  6. The newly added location is displayed in the Customer Viewer list.
    Customer Viewer Screen 2

Tip #1408 – The Sales IQ Top Row Button Operation has Changed in Version 2013

We have redesigned and rearranged the buttons on the dynaMACS Sales IQ screen to make navigation easier and more intuitive.  There are two new buttons on the Sales IQ Home screen, the Back button and the Home button.  You will also notice that some of the buttons have a different cosmetic look.

Old Screen . . .

Old Screen Buttons

New Screen . . .

New Screen Buttons

New Back Button

The new Back button is active on any “Drill-Down” screen.  Drill-Down screens are accessed by right clicking on a record and selecting Show Manufacturers, Show Customers, Show Sales Reps or Show Details from the Manufacturers, Customers or Sales Reps tabs in Sales IQ (Sales IQ Drill-Down).  The Back button will take you back to the previous Sales IQ screen.

  1. Notice that the Back button is disabled in the Sales IQ Home screen in the example below.  We selected the manufacturer Lee Jacob Mfg, right clicked and selected Show Customers.
  2. In the Sales IQ Drill Down screen you will see that the Back button is now activated.  By selecting this button you will be returned to the previous screen (Sales IQ Home).SIQ Screen 1

New Home Button

The new Home button will close all of the Drill-Down screens and bring you back to the Sales IQ Home screen Overview tab.

  1. In the following example we have selected the Home button from the 3rd Sales IQ Drill Down screen.SIQ Screen 2
  2. After selecting the Home button you will be returned to the Sales IQ Home screen.SIQ Screen 3

Saving Sales IQ Filters

The Sales IQ Filters are now saved after exiting Sales IQ.  You can access the saved filters by toggling between Filtered data and Normal data.

SIQ Screen 4