Posts

AccountManager CRM and ISA SalesWerks Level 1.0 Certification

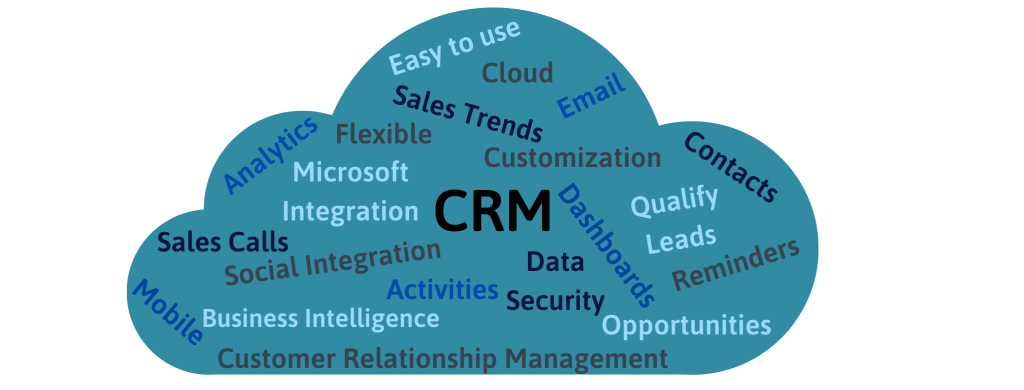
Empowering Systems is excited to be working closely with Ed Gerber, President, and CEO of ISA to ensure that AccountManager CRM not only supports ISA SalesWerks Level 1.0 certification but exceeds the requirements.  It is important to Empowering Systems that we work as a team with all of our clients so they can be leaders of their industry. Our CRM system has the features that ISA SalesWerks certified reps are looking for and more.   

Here are just a few:   

AccountManager Mobile: Easily see your sales numbers, review sales calls, quotes, or opportunities with voice-to-text updates. 

AccountReporter Analytics: Quickly see the progress of your sales processes and more through analytics.   The visual statistics will provide you with a whole new way to work on your business, spot trends before they happen, measure success, and find the most profitable manufacturers and customers. 

AccountManager 365: CRM in your Outlook in-box right at your fingertips. Drag and drop important information from your email into an opportunity, sales call or quote.  

AccountManager Web: Create and manage accounts, contacts, sales calls, opportunities with the ability to customize your own views by sorting and filtering the way you want to! 

CRM Key Features

Now that more businesses are opening it’s time to look at your business tools. Are they meeting your needs? Do they keep your sales teams in front of customers rather than doing administrative work?  One critical tool is your CRM, make sure you are set up with a good CRM system that helps you work smarter, not harder. Make sure you know what functions a powerful CRM system should have. Here are a few to keep in mind: 

  •  Access anytime, anywhere:  A system that is available for you in your email, on the web, on your phone and on your computer.  Work in your CRM system whether you are on WIFI or not. 
     
  • Analytics: You want to Analyze the data that has been entered into your CRM system. For example, with Empowering Systems CRM system, you can review your data with our dashboards and visuals or create your own custom analytics. You can filter on many fields such as territory, state, category and so much more.
     
  • Mobile App: Be able to grab the data when it’s needed most. Walk into your customer’s office with the confidence that nothing will be missed. With our mobile app, you can review your sales numbers, look at past call reports and check on the opportunities so you can get a status update. This will make your customer feel valued and that you are on top of and understand their situation.
     
  • Reminders:  Your CRM  should have a reminder system in place. Our CRM sends an email out every day to remind you regarding quotes, call reports or opportunities.  And let me tell you, they don’t go away until you update them.  LOL 
     

Tip #1712 – How to Delete a Customer from the dynaMACS Database

Follow the steps below to delete a customer that has merged with another customer or is no longer in business.

Move the history to another customer

  1. Go to Edit drop-down menu.
  2. Select File Transfer/Combine.
  3. Choose Mfr/Cst/Rep Transfer (1).
  4. The Manufacturer/Customer/Sales Rep Transfer/Combine window will appear.
  5. Type in the customer that you want to delete on the left side (Example:  Abbott Health Products) and the customer that you want the history to go to on the right side (American Instruments).
  6. Select the Proceed.
  7. Choose Yes at the prompt for Are these correct?
  8. Select the printer and print out the audit trail.
  9. Please confirm … choose Yes.
  10. The FYI window will appear, select OK.
  11. At the 2nd FYI, choose OK.
  12. Follow steps 1-11 until you are done will moving the customers.
  13. Then select Cancel to exit this screen.
  14. Go to Edit drop-down menu.
  15. Select File Transfer/Combine.
  16. Choose Mfr/Cst/Rep Transfer (2).
  17. The Manufacturer/Customer/Sales Rep Transfer/Combine (2) screen will appear.
  18. Select your printer and print the audit trail.
  19. Choose OK at the Please confirm window.
  20. Go to Edit drop-down menu.
  21. Select File Transfer/Combine.
  22. Make Customer Deletable
  23. Select Range of Records.  Leave the from field blank and type in zzzz in the To field. Then choose OK.
  24. Select Yes at the next window.
  25. At the end you will get a message that tells you how many customers were deletable. Choose OK.
  26. Select Exit when done.
  27. Go into the Customer Maintenance screen and select one of the customers that you transferred the history for and select the Delete button.

Tip #1706 – Are you constantly changing the “display by” search in the customer viewer?

The Display By field in the dynaMACS Viewer screens defaults to “Lookup” which lets you enter the first few characters of the Name i.e. manufacturer, customer or sales rep name in the Start field which will display a list based on that entry.

You can change this default temporarily by selecting the down arrow in the Display By field while in the Viewer screen.  This will change the Display By for the current viewing session.

You can also change the default so that every time you access the Viewer screens it will default to your personal selection.

To Change the Default Display By Field for the Viewer Screens

  1.  From the main dynaMACS screen select File>Preferences.

  2. From the User Preference(s) screen, scroll down to #19 Viewer Look-Up.
  3. Select the drop down arrow to the far right of Viewer Look-Up.
  4.  Select the field which you would like your default Viewer Look-Up to be ( i.e. City).
  5. Select the Save button.
  6. Select the Exit button.

Now when you access any of the viewer screens the Display By field will default to that selection.

Tip #1612 – Using the dynaMACS System Information Setup Screen to Set the Frequency and Warning Messages for Restore Points

Restore points in dynaMACS are important when performing some functions such as posting sessions or doing transfers. (Please see Tip #1308 on the importance of creating a restore point.)  In dynaMACS you can control when your Restore Points are required or set a warning when the Restore Point SHOULD be done.  The following tip will walk you through setting this up.

Setting the Restore Point Frequency/Warning Message

  1. From the main dynaMACS screen select Other Functions>Administration>System Information Setup.
  2. Select the Restore Points tab at the top of the System Information Setup screen.
  3. There are three processes for which you can setup warnings or required defaults.
  4. Select the appropriate radio button.
    • Required Everytime will force the user to create a restore point each time this process is run.
    • Required Once Daily will force the user to create a restore point the first time this process is run each day.
    • Warning Everytime will display a warning to create a restore point each time this process is run.
    • Warning Once Daily will display a warning to create a restore point the first time this process is run each day.
    • Never will not show a warning or force a restore point when this process is run.

5.   Once your selections have been made click on the Save button.

dynaMACS Software Overview Demo